|
|
|
|
|
|
Not a member? Join Today to see why so many say they are Proud to be a Venturer!
|
|
| Rear Wheel Removal |
|
Author: Wicked One Views: 45432 Votes: 57 |
|
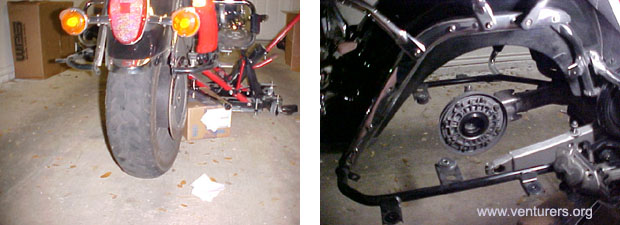
Rear Wheel Removal After placing jack under RSV
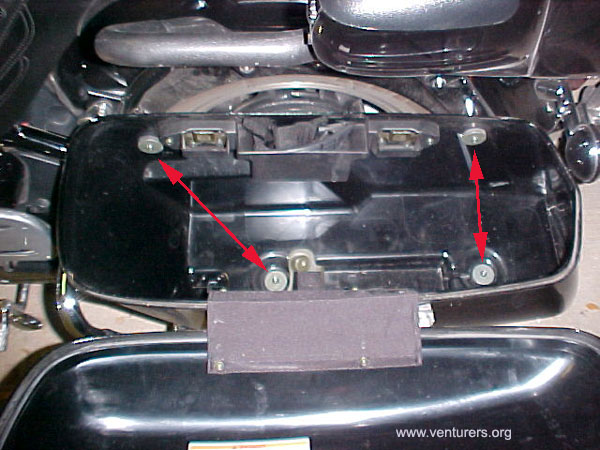
2. Remove the mufflers. 2 bolts on each muffler, one on the front (12 MM socket) and one right on the top of the saddle bag frame rails (14 MM socket)
3. Now raise bike with a motorcycle jack. Stop raising the bike just when the rear tire is just about off the ground.
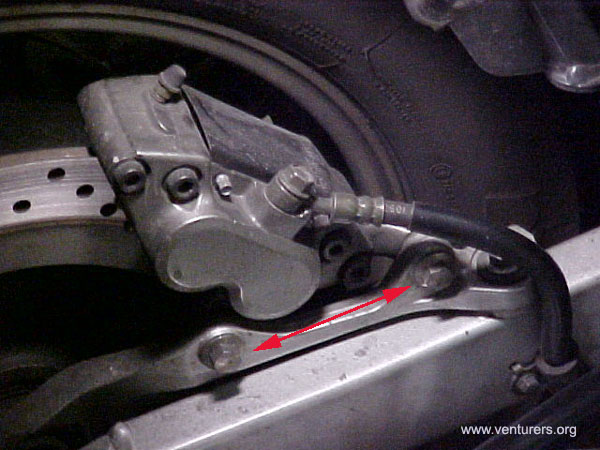
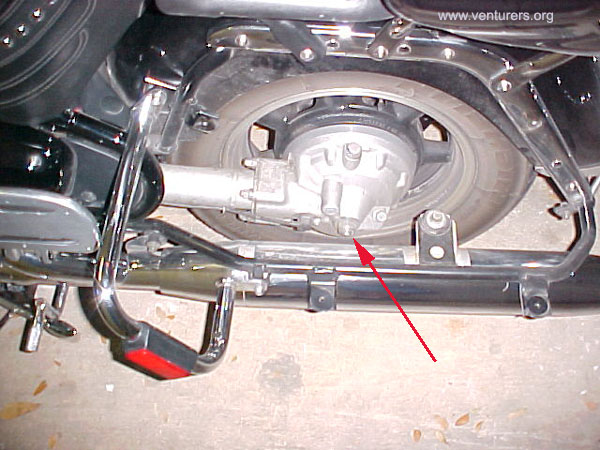
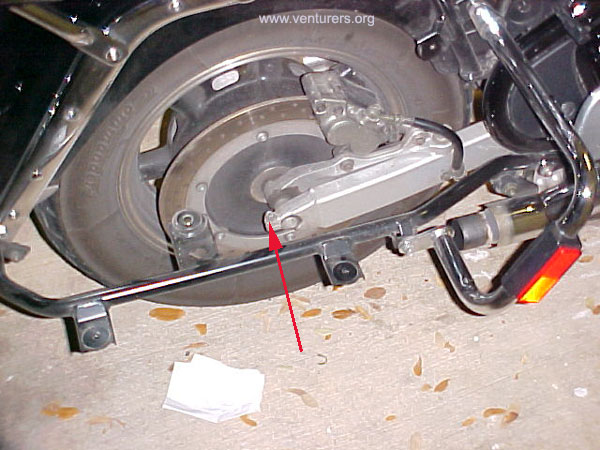
4. Remove the caliper, 2 12 MM bolts.
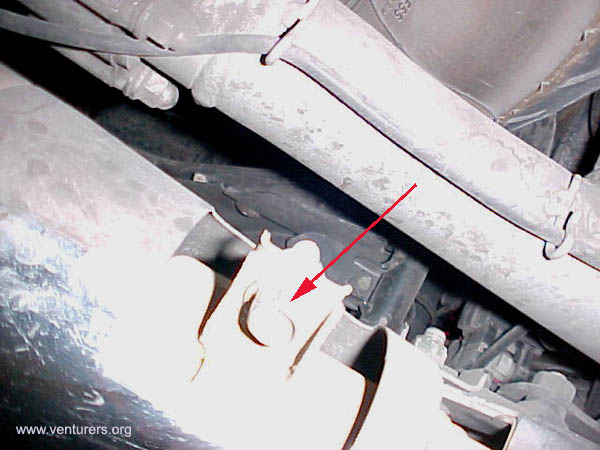
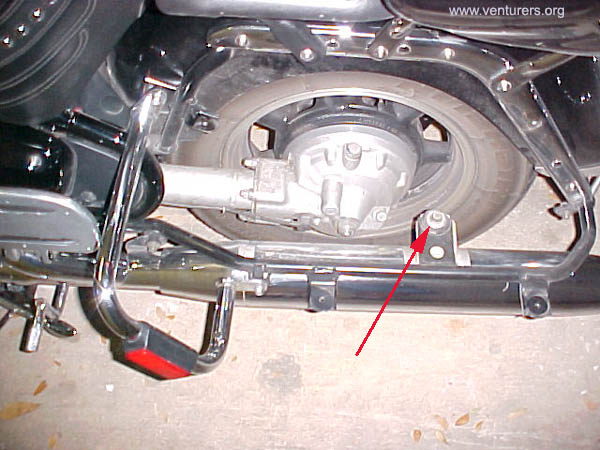
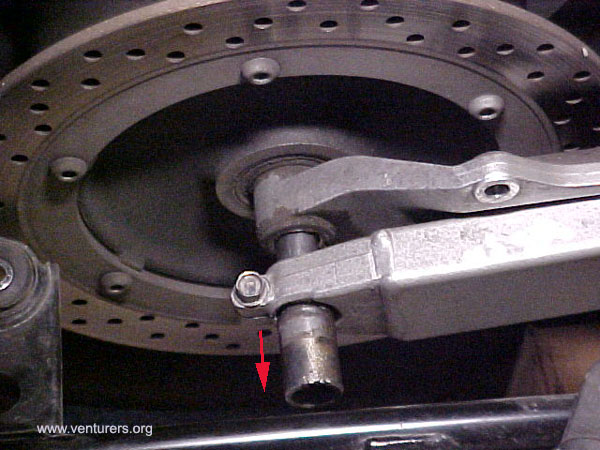
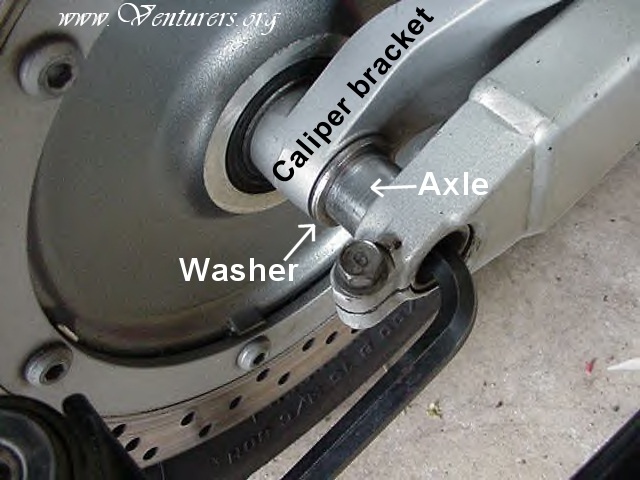
5. Then remove the axle nut on the left side. The nut is 1 1/16 socket (27mm) 6. Loosen the PINCH BOLT before you pull the axle.
7. Slide axle out paying attention to the position of the washer so you remember to put it back the same way
8. Next remove the caliper mount, one 12 MM bolt in the front of the bracket.
9. Slide the wheel to the right off the drive gear and the wheel is ready slip out from under the bike. You can let the air out and remove the rear cross bar to assist the wheel coming out easier.
10. Reverse the process to put the tire back on 11. Torque on the axel nut is 110 ft lbs 12. Torque on the caliper and caliper mount is 29 ft lbs 13. Torque on the pinch bolt is 17 ft lbs 14. Removing the disk brake rotor is a good idea so it won’t get damaged. Torque on the six allen head bolts on the disk is 17 ft lbs. Loctite 648 or equivalent recommended when reassembled.
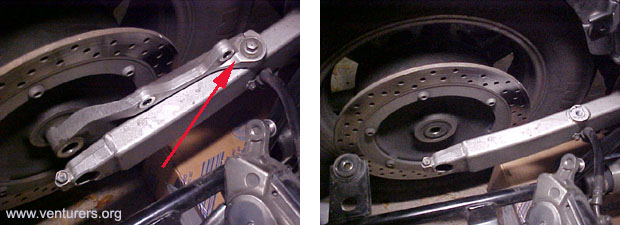
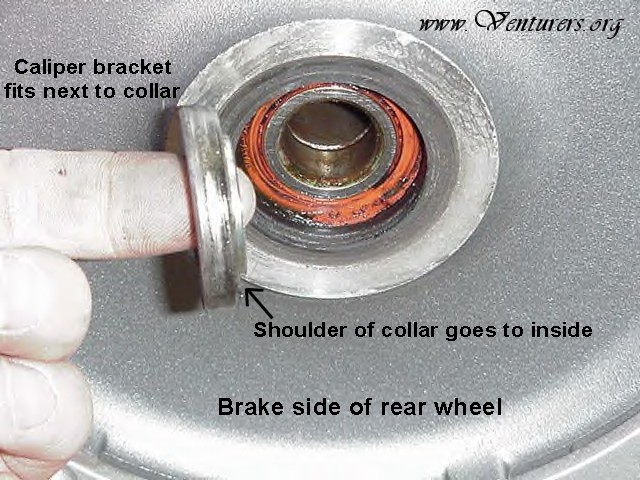
03/08/07 Update to clarify correct wheel spacer collar and washer positions on rear wheel.
Many Venture owners in the past have had difficulty determining the correct assembly order of the rear wheel spacer collars and washers when reinstalling the rear wheel. Hopefully, these pictures will help the job go much smoother.
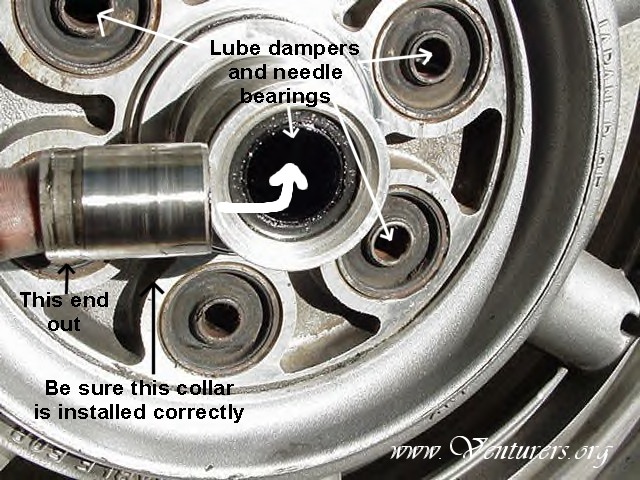
The picture below is of the final drive side of the rear wheel. The splined drive hub has been removed, but the collar can be removed, or may fall out, even with the drive hub in place. Be certain all spacers, collars and washers are in place when reinstalling the rear wheel. A flat washer is also used under the nut on the threaded end of the axle, not shown in these pictures.
For more info on removing and lubricating the drive hub splines, dampers and pins see this tech article: http://www.venturers.org/Tech_Library/index.php?action=article&cat_id=002006&id=230
Last update: 10:32 PM Sunday, April 8, 2007 |
| Related Articles: |
| All material on webpages under the domain venturers.org, is the property of The Venturers, Inc. These materials are protected by copyright and other intellectual property laws. You may not reproduce or retransmit the materials, in whole or in part, in any manner, without the prior written consent of The Venturers, Inc. The free information contained herein is offered in the spirit of helping others and any action or advice taken from these pages is the sole responsibility of the receiver. |