|
|
|
|
|
|
Not a member? Join Today to see why so many say they are Proud to be a Venturer!
|
|
| Installing a Works Performance rear shock. |
|
Author: VentureProf Views: 17370 Votes: 11 |
|
Installing a Works Performance Rear Shock.
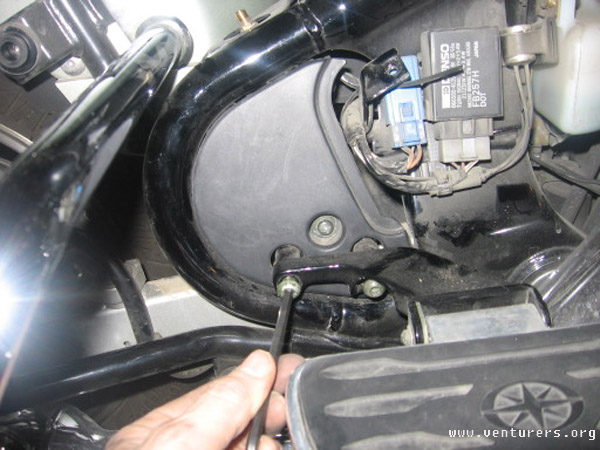
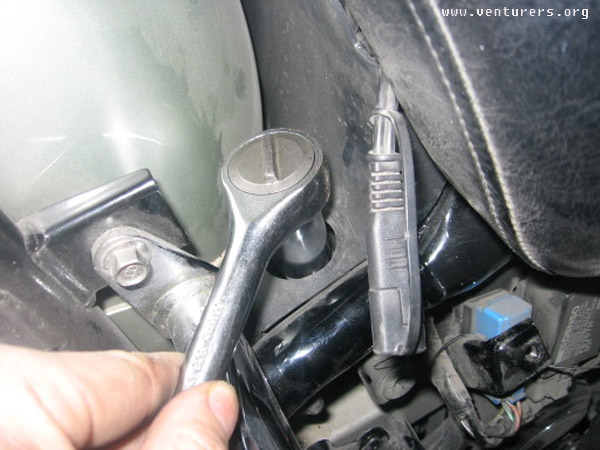
Here’s how to change the shock from the right side. In this case, I installed an aftermarket shock from Works Performance. There's the top shock bolt, seen from the right side. You can't get straight on the nut, but a wobble-type extension bar works well. But first, remove the air filler hose from the frame. Pop off the rubber grommet surrounding the valve stem, and use a socket to remove the large packing nut surrounding the valve stem body.
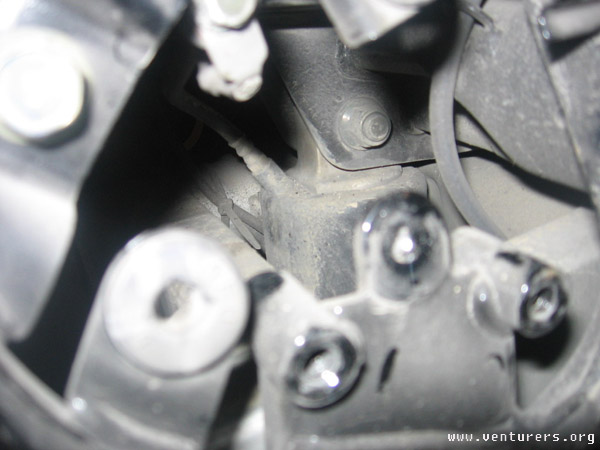
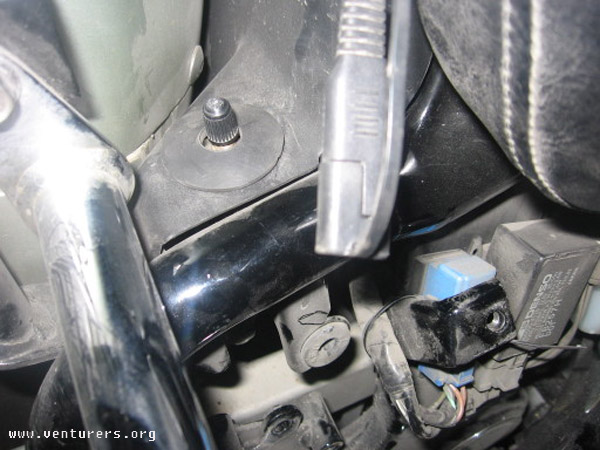
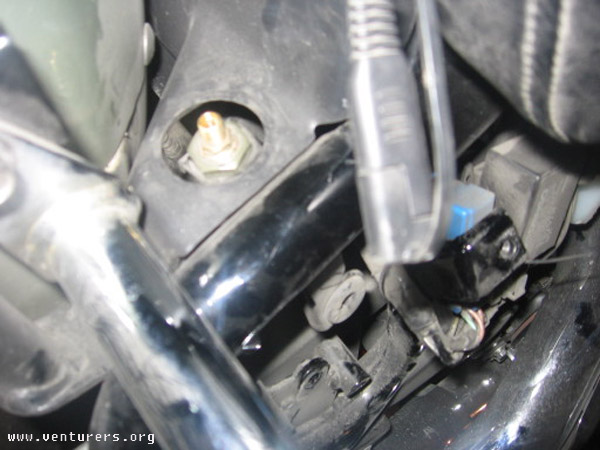
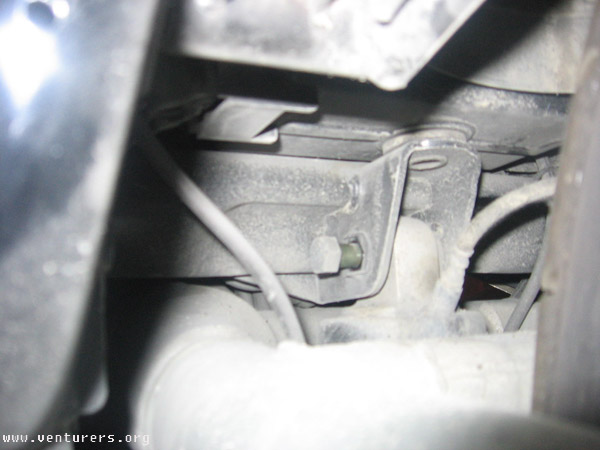
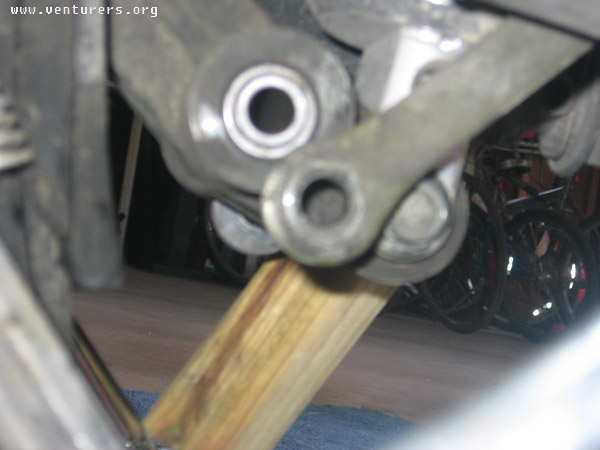
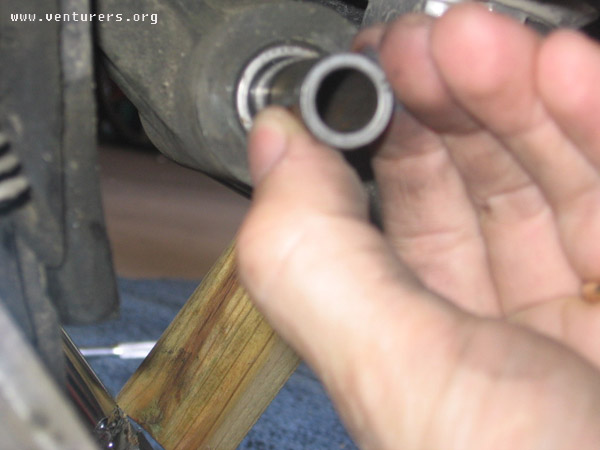
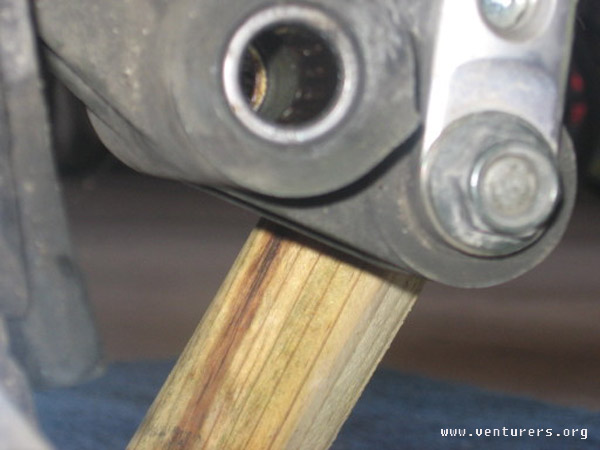
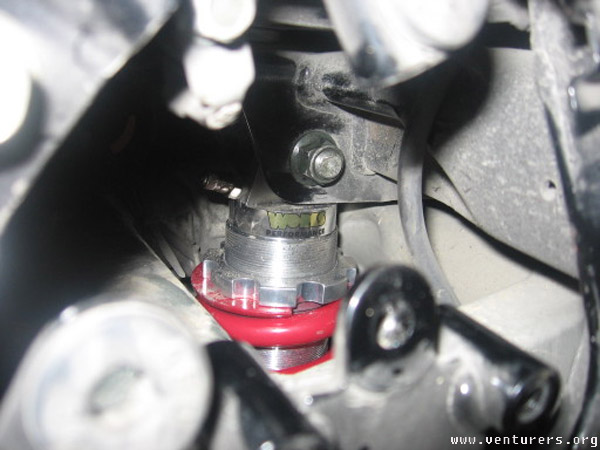
Remove the top nut on the shock bolt using a socket and 'wobble' type extension bar to negotiate the slight angle to the nut (don't worry about holding the bolt head on the other side - the bolt head is 'captured' to the frame - you'll see how in an upcoming picture). Tap the bolt through to the left side. You'll have to load the suspension just slightly to get the pressure off the bolt. I had the rear wheel just a fraction off the concrete so I could push down lightly on the frame (I think I pushed on the bag rails - make sure you have the bike secured to the jack!!) while tapping/wiggling the bolt through. You'll use this trick again for installing the new shock and lubing the transfer linkages. Repeat for the bottom shock bolt (you'll need to hold the bolt head while you remove the nut - no captured bolt here), and then lower the shock out. All three holes on the relay arm have bearings pressed inside, into which a bushing slips (and the bolt goes through the bushing - so the bolt/bushing rotates against the inside bearing surface). The top of each link mounts in a similar fashion. Slip out the bushing (use your finger to push it out), and lube the bearing that remains on the bike by wiping/pressing wheel bearing grease (or similar) into the bearing using your little finger. A little grease (white lithium or wheel bearing) on the bolt surface is a good idea. Slip the bushings in and reinstall the links, slip in the shock (push down/wiggle the frame to get things aligning), torque (bottom shock bolt and relay arm/transfer link bolts = 36 ft/lb; top shock bolt = 42.7 ft/lb). Here's the shock in place, with views of the top and bottom bolts.
Remember to check the static sag (preload adjustment) as per the instructions. With the rear wheel in the air, measure the distance from somewhere on the hub or axle to a point on the frame or fender directly above it. Take the same measure with the bike back on the floor, with the rider(s) seated and bike vertical, off the stand. Subtract the loaded from the unloaded distance, this is your 'sag' measure. The rear wheel travel is 105 mm (about 4 inches), so the 'sag' should be 1/4 to 1/3 of 105 mm (1 to 1 1/3 inches). This is easier to measure if you remove a saddle bag.
Last update: 11:14 PM Tuesday, June 6, 2006 |
| Related Articles: |
| All material on webpages under the domain venturers.org, is the property of The Venturers, Inc. These materials are protected by copyright and other intellectual property laws. You may not reproduce or retransmit the materials, in whole or in part, in any manner, without the prior written consent of The Venturers, Inc. The free information contained herein is offered in the spirit of helping others and any action or advice taken from these pages is the sole responsibility of the receiver. |