|
|
|
|
|
|
Not a member? Join Today to see why so many say they are Proud to be a Venturer!
|
|
| Repacking Bubs Mufflers |
|
Author: Peter Behm Views: 9758 Votes: 7 |
|
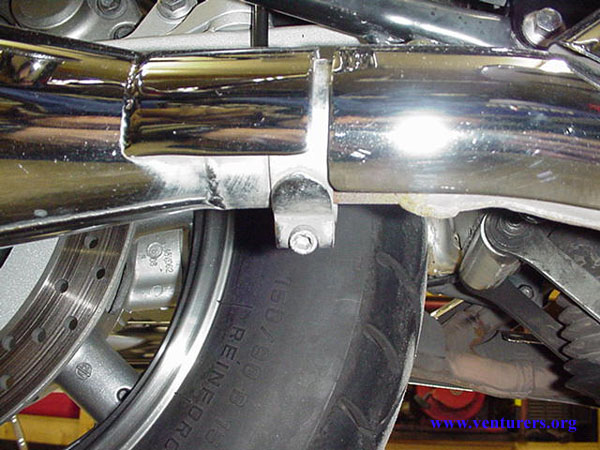
Repacking Bubs Slip-on Mufflers The first step is to remove them from the bike. Depending on what you have for a bolt and nut set up holding the muffler to the bracket you may or may not have to remove the saddlebags. If the bags need to come off the directions are here. http://www.venturers.org/Tech_Library/index.php?action=article&cat_id=002004&id=269 You will then need to loosen the clamp at the front of the mufflers. This is a 3/16 hex head.
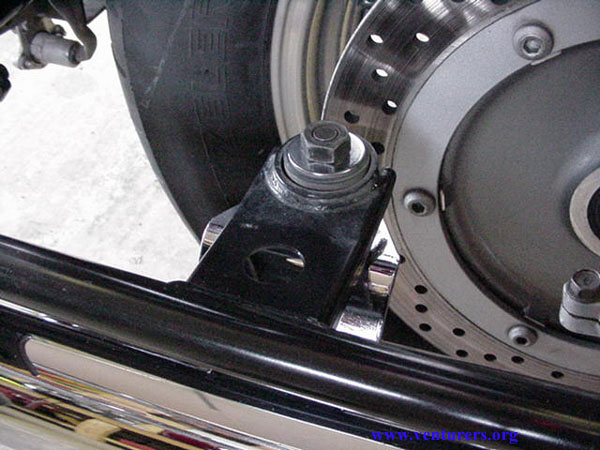
The next and final one is the one here. I had mine setup with a nut on top so the saddlebags could remain on to remove the mufflers.
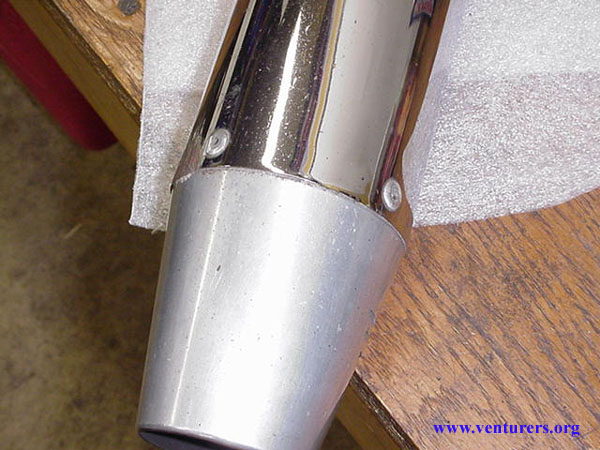
Once you have removed your mufflers you will want a surface to place them on where they will not get scratched. You'll need to drill out the two rivets that hold the end cap in place shown here. I use a 3/16 drill bit to remove these.
Once the rivets are out the end cap needs to be removed. This can be some work depending on what kind of condition things are in on the inside of the mufflers. I use a hard plastic hammer and hit the end caps on the sides to start them moving. Once things start to loosen up I put it a vice to hold it. Be sure to use a rag where the jaws are to prevent any permanent marks. It might help to mark the muffler and end cap with something to make aligning them easier when putting them back together. I used a couple strips of duct tape to show the alignment.
Ideally the end caps will come off and the baffles will remain inside. I have had them come apart this way and also with the baffles stuck to the end caps (this makes things tougher). As you can see in the picture below mine came out as 1 assembly. Use whatever creative means you can to get the baffles out without damaging the aluminum and chrome. This is what I had come out of mine. Pretty well used up!
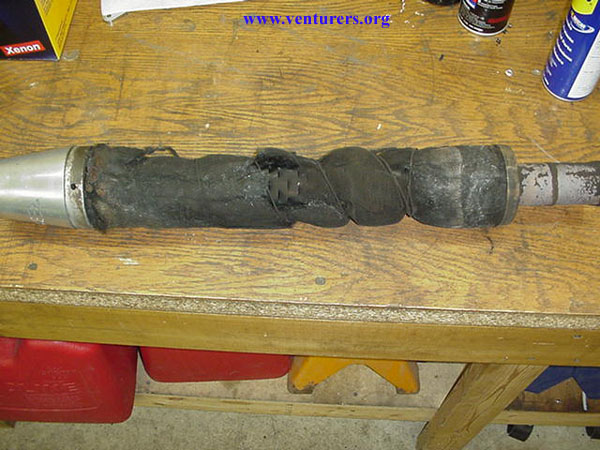 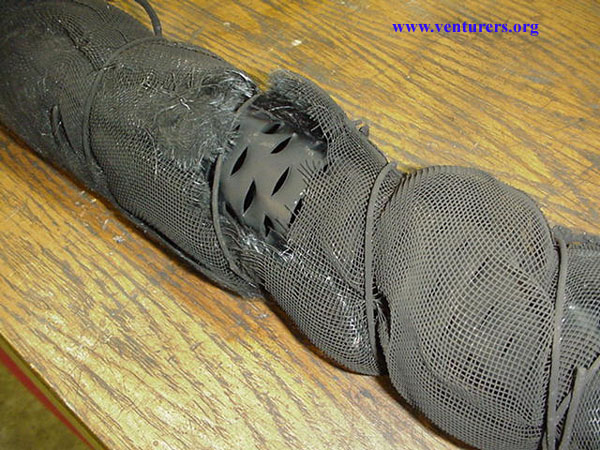 I had tried wrapping screen around the packing material as an idea to make it last longer. Looking at the new kit I ordered I was on the right track but had it installed just the opposite of what they recommend.
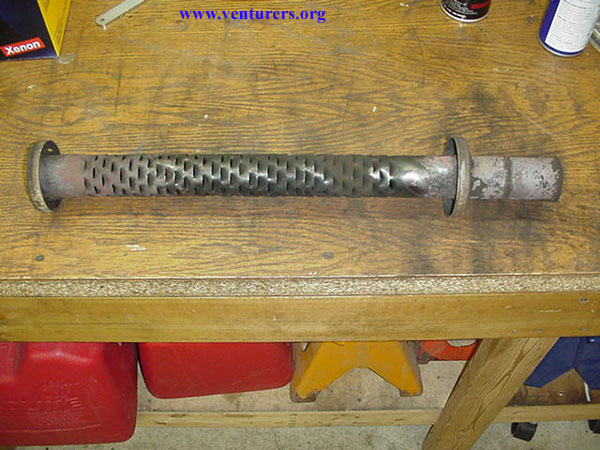
Once the baffles are cleaned up you should have something like this.
 Once the baffles are cleaned up you can start the repacking process. In the past I have used a kit with just the packing material and it didn't seem to last very long. I think I got a little more life with the screen idea above but this time I think I have something better, time will tell. I ordered a kit from Moose Products that has three seperate materials. The packing material, a screen cloth and also somewhat of a steel wool cloth. Hopefully this will add some more time in between repackings.
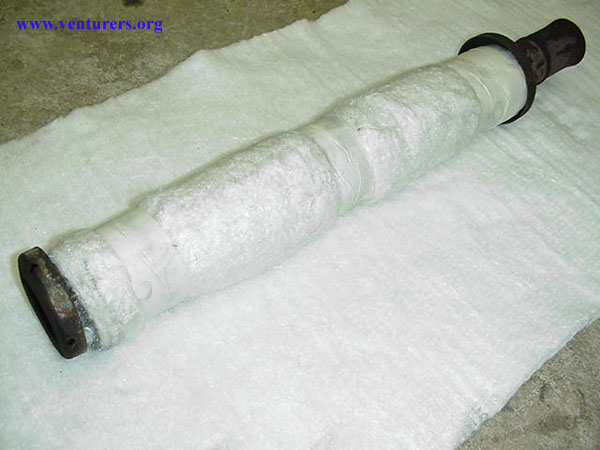
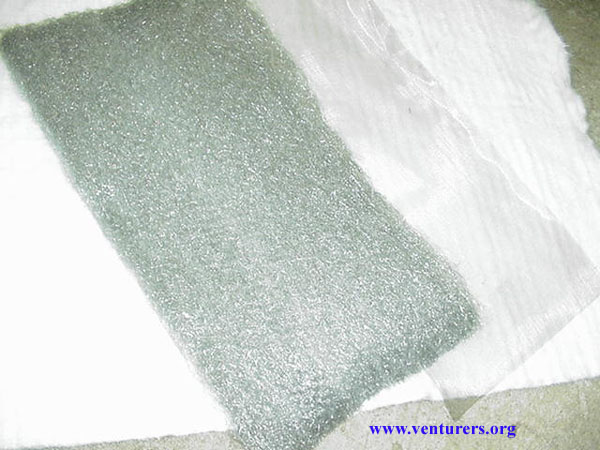 Everthing needs to be cut to fit on the baffles. Once this is done I layed it out (according to the directions) with the white material on the bottom, then the steel wool cloth and finally the screen material on top.
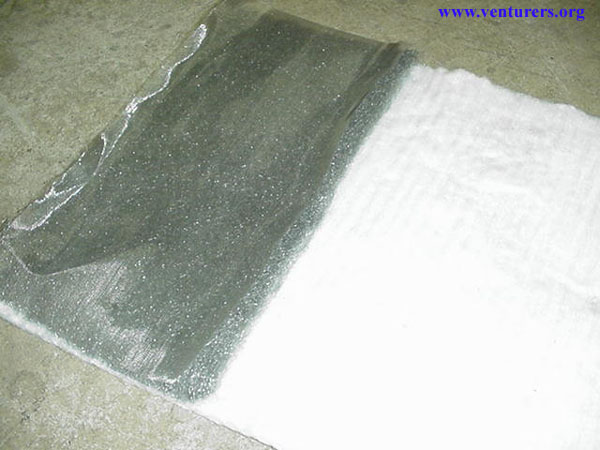 This then gets rolled onto the baffle and finished off with masking tape. I got as much of the white packing as I could onto the baffle, but not so much that it wouldn't fit back into the muffler.
 Before I inserted the baffle into the muffler I put Never Seize on both flanges and also on the end cap where it fits in. I'll see if that helps when they come apart next time. I haven't ever done it in the past and have had some work getting things apart. When reinstalling everything make sure to get the rivet holes for the baffles and endcaps lined up correctly. If they are not lined up correctly the endcaps wil be positioned wrong. You want the Bub on the end cap up, when the mufflers are installed. Install new rivets and then reinstall the mufflers.
Last update: 10:43 PM Monday, March 6, 2006 |
| All material on webpages under the domain venturers.org, is the property of The Venturers, Inc. These materials are protected by copyright and other intellectual property laws. You may not reproduce or retransmit the materials, in whole or in part, in any manner, without the prior written consent of The Venturers, Inc. The free information contained herein is offered in the spirit of helping others and any action or advice taken from these pages is the sole responsibility of the receiver. |