|
|
|
|
|
|
Not a member? Join Today to see why so many say they are Proud to be a Venturer!
|
|
| LED light bar underneath the Trunk Rack |
|
Author: Ken Thompson (Pudge) Views: 19100 Votes: 8 |
|
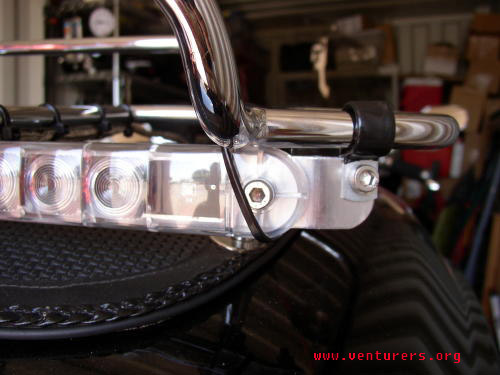
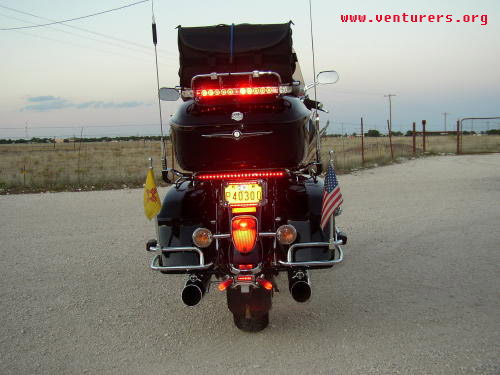
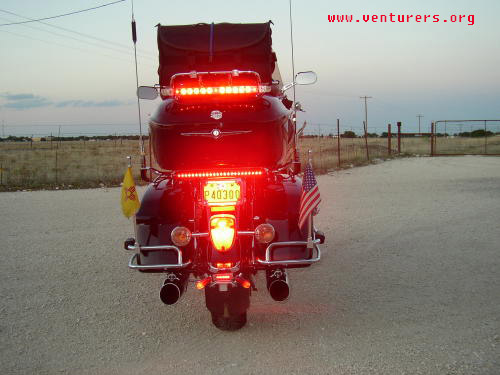
Installation of an LED light bar underneath the RSV Trunk Rack
In our never ending quest for additional lighting on our Ventures, and after hearing a few fellow Venturers talking about mounting one of the Pilot brand lights (apparently no longer available) in that location, I decided to look for another LED light bar. I found some on eBay and bought a couple. About the same time, there was a discussion thread on the forum concerning these lights. I was able to steal several good ideas from VentureProf and Sandy, as well as other knowledgeable and experienced Venturers and then proceeded to install my own LED light bar underneath the trunk rack on my RSV. I have a trunk bag that permanently resides on the rack, so my light bar is mounted up underneath it. As you will see, the lights are still easily seen.
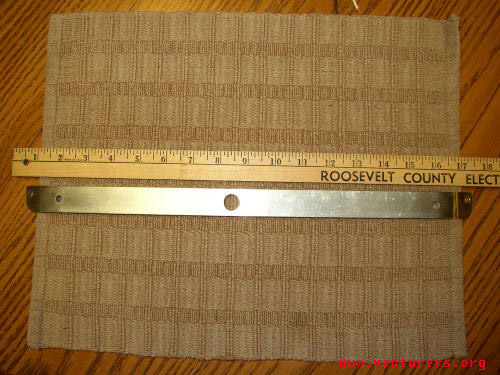
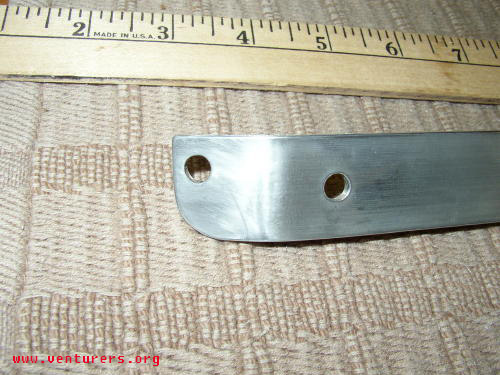
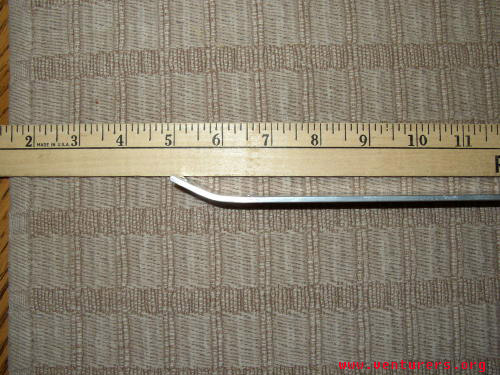
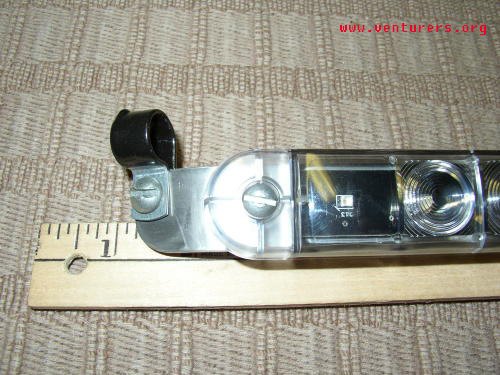
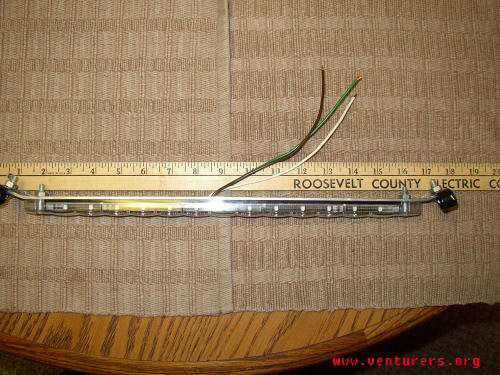
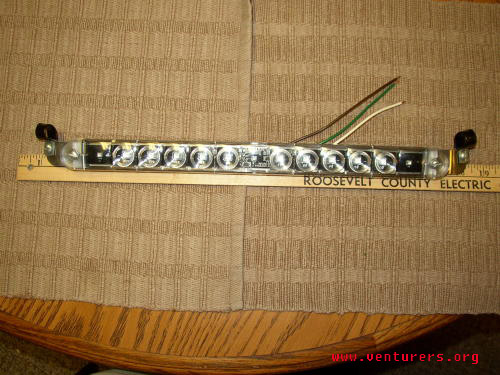
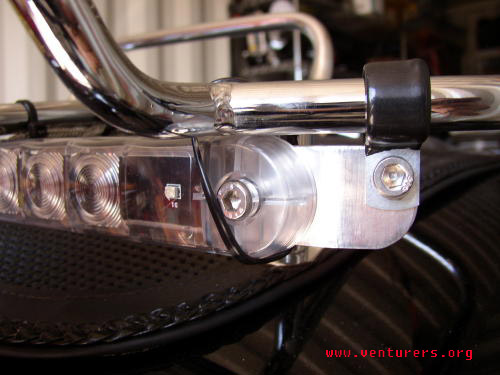
http://www.customdynamics.com/Light_bars.htm#Ultra_LED_Light_Bars_ My first step was to take a piece of aluminum flat stock, one inch wide by an eighth inch thick and about 18 or so inches long and drill it so that my LED light bar could be mounted on it and so the wiring could pass through the stock. I then held the bracket and light underneath the trunk rack to determine where exactly to mount it. I decided to bend the ends of the aluminum stock so that each end could be attached to the trunk rack bar by means of a rubber covered “P” clamp, ½” diameter, purchased from my
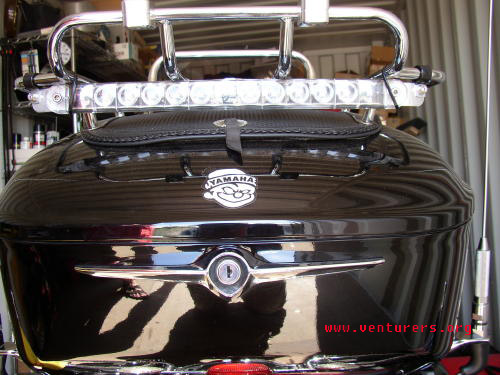
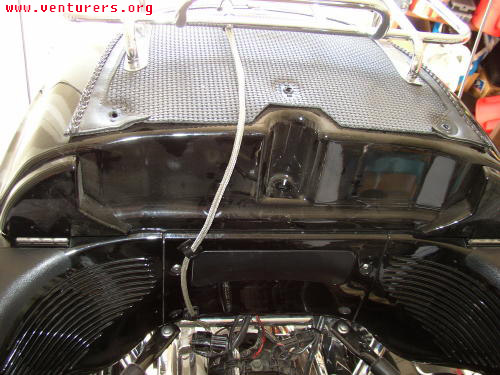
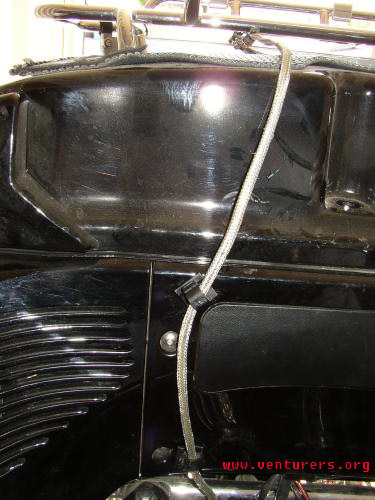
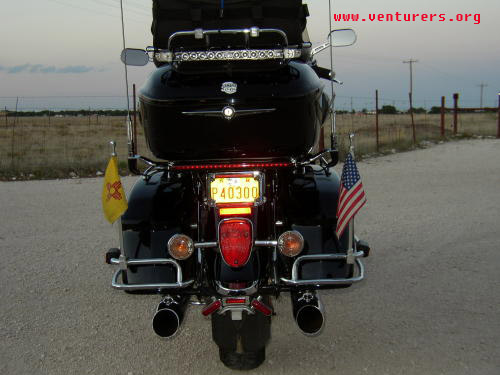
After getting the light bar and bracket ready for installation, I extended the three wires by soldering a splice and covering them with heat shrink. (These lights come in several configurations. Mine has tail and brake lights and is connected directly to those two circuits with no other mods necessary. You can get them with a turn signal LED on either end as well.) I then placed a piece of braided stainless steel wire loom over the three wires to hold them together and improve their looks as they pass underneath the trunk and passenger backrest on their way to their connections underneath the seats. Thanks to VentureProf for the source for this neat piece of stuff. You can order it from www.customdynamics.com as well as some other neat electric related items. With this, I was ready to install the light bar. I mounted the light and aluminum stock to the underside of the trunk rack with the “P” clamps. I had purchased some stainless steel socket head bolts and some Ny-lock nuts for this purpose. I could probably have allowed the light bar to hang loose as mounted, but I decided to take all movement out of the equation by using some black zip ties on either end to snug everything up to the trunk rack. I also attached the wiring harness to the bottom of the trunk rack with black zip ties. Venture Prof used some double sticky 3M tape to hold his wiring harness in place and if I didn’t have the rack covered with the rack bag, I probably would have tried that as well. The passenger backrest had been removed to allow the harness to be placed underneath it, where the harness then passed to the wiring/cable harnesses that pass underneath the passenger seat. The harness was routed along with all of these up to the area under the driver’s seat, where I used the existing taps for my older Pilot brand LED (mounted underneath the rear of the trunk, see pictures) for my connections for the brake and tail light circuits. The third wire is a ground wire, and it was connected accordingly. As an aside, since I pull a trailer, my trailer lighting harness is isolated by the excellent product sold by www.electricalconnection.com . These LED lights are connected behind that isolator, and so none of my extra lights are directly connected to my bike’s wiring harness. These lights and the trailer lights are behind relays and fuses to keep things sanitary. The light bar looks nice and neat, IMO, and it works very well. These LED’s don’t add much load to the system, and they are very bright, and so they are ideal candidates to add to your Venture to attract some additional attention from folks who are following along behind you. Here are three final pictures, showing the bike with the lights off, with the tail lights in operation, and with the brake lights in operation. I think the lights are well worth the effort and expense to install. The lights don’t cost a lot, and the remaining parts necessary are also not expensive. Just takes a bit of time and patience. If I can do it, so can you!!
Last update: 09:24 PM Friday, May 19, 2006 |
| All material on webpages under the domain venturers.org, is the property of The Venturers, Inc. These materials are protected by copyright and other intellectual property laws. You may not reproduce or retransmit the materials, in whole or in part, in any manner, without the prior written consent of The Venturers, Inc. The free information contained herein is offered in the spirit of helping others and any action or advice taken from these pages is the sole responsibility of the receiver. |