|
|
|
|
|
|
Not a member? Join Today to see why so many say they are Proud to be a Venturer!
|
|
| Pilot Tail Lights |
|
Author: Archives Views: 20829 Votes: 5 |
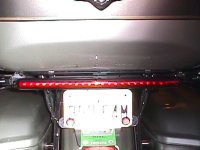
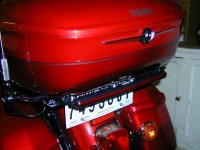
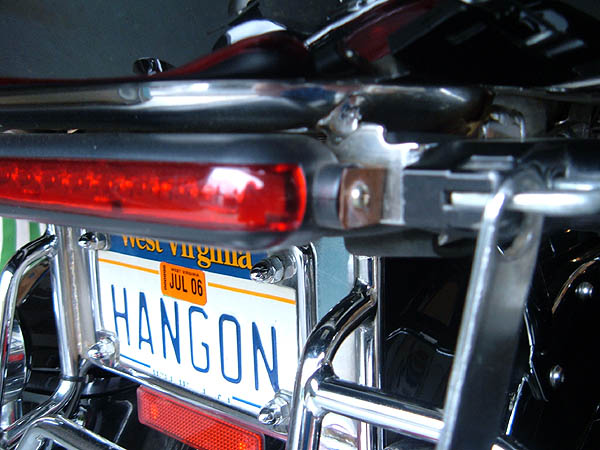
Pilot Tail LightsHow To Brighten Up Your Back EndOriginal Idea By Don Nelson - Additional Ideas By Dave Burgess
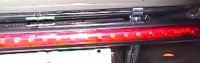
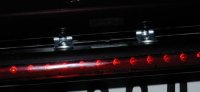
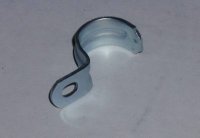
Update added 10/08/05 by Gary Mace (Venturous) Recently, some of asked for closer pictures on how to mount these. There are several ways, but I used a simple 90 degree bracket I made from thin copper strapping. I then pull back the rubber cover over the helmet lock bracket and tucked it in behind. I attached the copper brackets to the helmet lock bracket using a screw and nut. I then attached the Pilot LED Lights using the copper brackets. Here is picture that may help:
Update by TnTim: I mounted mine the same way Gary did. Made a couple of "L" brackets and attached to the rear of the helmet holders. I also trimmed the "legs" off the plastic brackets that came with the light and used the round part that was left to cap off the end of the light for extra support.
Last update: 03:43 PM Saturday, October 8, 2005 |
| All material on webpages under the domain venturers.org, is the property of The Venturers, Inc. These materials are protected by copyright and other intellectual property laws. You may not reproduce or retransmit the materials, in whole or in part, in any manner, without the prior written consent of The Venturers, Inc. The free information contained herein is offered in the spirit of helping others and any action or advice taken from these pages is the sole responsibility of the receiver. |