|
|
|
|
|
|
Not a member? Join Today to see why so many say they are Proud to be a Venturer!
|
|
| Removing the Saddlebags |
|
Author: Peter Behm Views: 10388 Votes: 10 |
|
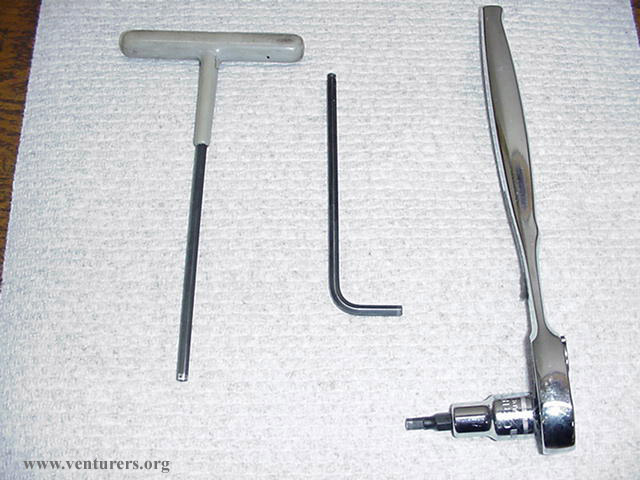
You will need a 4mm hex wrench to remove the bags.
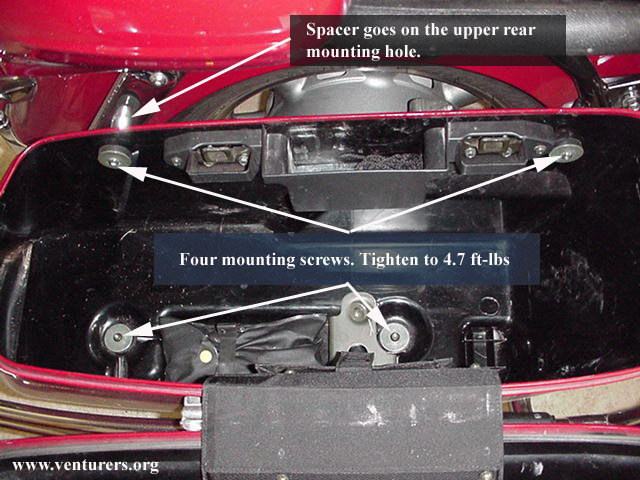
Make sure you have one with a good tip on it as these can be tight if they haven't been off before. You don't want to make more work for yourself by stripping out the head of the screw. I prefer to use a 3/8 ratchet/hex socket with an extension for the bottom screws and just the ratchet/hex socket for the side screws instead of a regular hex wrench but either will work. Remove the 4 hex head screws shown here (right bag shown). The upper rear screw has a chrome spacer that needs to be held on to when removing the screw. The left bag will have the same 4 screws and spacer to remove.
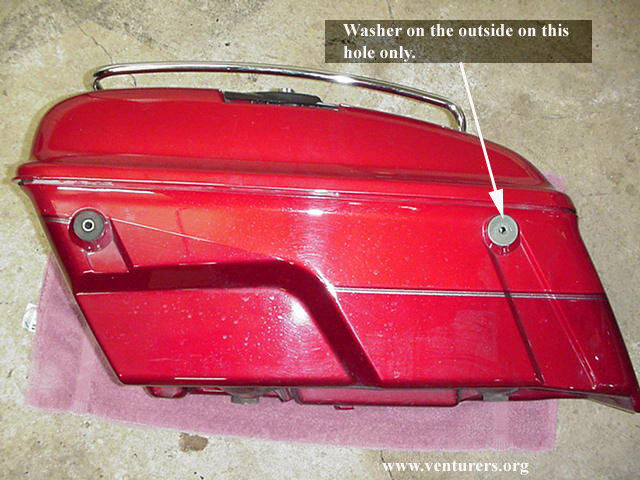
 If a few of the grommets or washers should happen to come off when taking the bags off only the screw with the chrome spacer gets a washer on the outside of the bag.
 The four screws inside of the bag should all have washers on them as shown in the second picture.
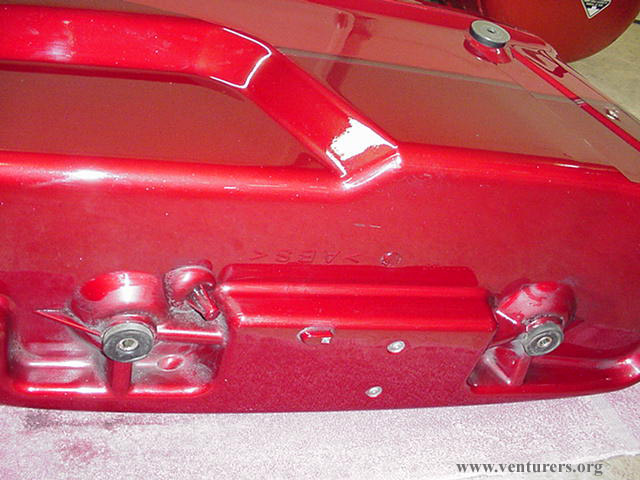
Here's a picture of the bottom of the bag.
 To reassemble just reverse the procedure.
Last update: 09:58 PM Monday, February 14, 2005 |
| All material on webpages under the domain venturers.org, is the property of The Venturers, Inc. These materials are protected by copyright and other intellectual property laws. You may not reproduce or retransmit the materials, in whole or in part, in any manner, without the prior written consent of The Venturers, Inc. The free information contained herein is offered in the spirit of helping others and any action or advice taken from these pages is the sole responsibility of the receiver. |