|
|
|
|
|
|
Not a member? Join Today to see why so many say they are Proud to be a Venturer!
|
|
| Adding CB to Non-US RSV |
|
Author: Olivier Verdonck Views: 7290 Votes: 3 |
|
Adding a CB Radio to non-US Royal Star Venture by Olivier Verdonck
The stereo / CB head unit is located under the front fairing. All the components have DIN plugs (not sure what this stands for) that plug directly into the unit. These are colour coded ŌĆō as shown in the picture below, the CB plug is coded YELLOW:
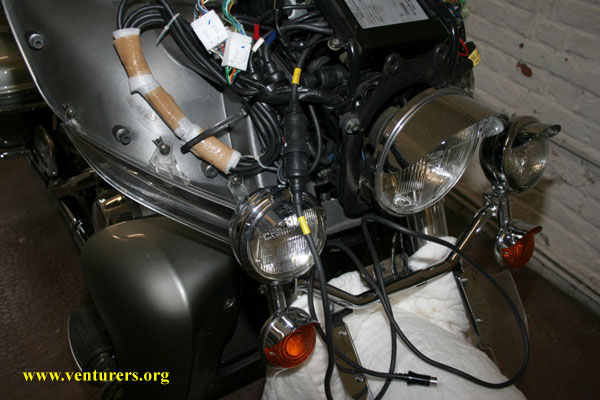
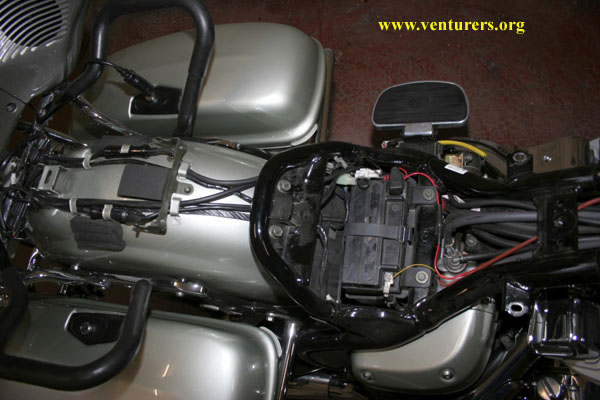
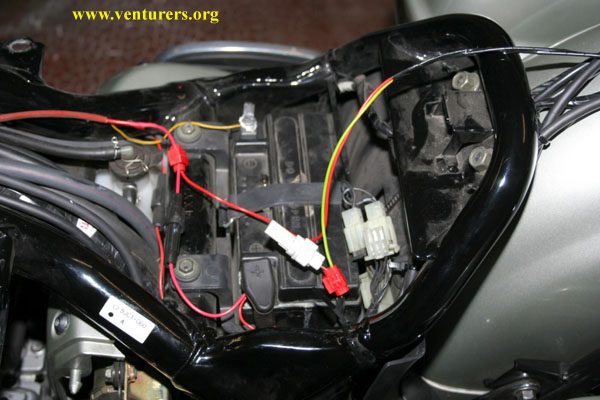
Red: permanent fused power (direct from battery or other permanent power wire) Ensure this is fused. (I assume this maintains the channels and settings). Refer to Clymer manual page 482 and 481. This wire is labeled red/green from the CB unit. As you will see, the red/green on page 481 is represented by the code ŌĆ£EŌĆØ and connects to permanent fused power. Red/Black: this wire goes to a power supply that is activated when the ignition is turned on. (tail lights, other stereo power wires etc) I used the plug that sits to the left side of the battery and is called an auxiliary plug (it is a white two wire plug). I just used a quick connect to the hot wire of that plug ŌĆō it is only powered up when the ignition is on. Page 482 of the manual labels this wire as the brown/white wire and is labeled ŌĆ£BŌĆØ on page 482 and 480.
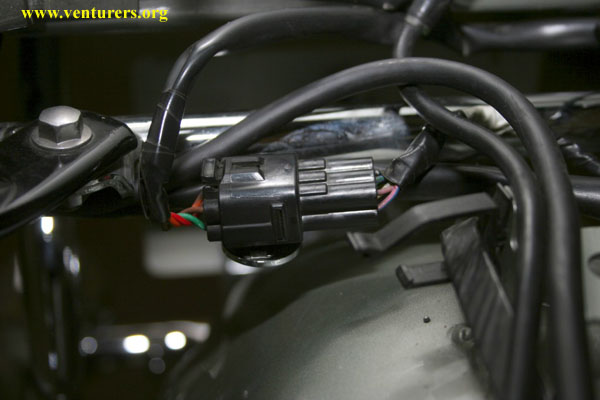
The PTT and speaker wires terminated in a black plug with six terminals. This is located under the pillion seat and is secured to the frame with a black plastic tab.
The plug ŌĆśinŌĆÖ from the PTT and speakers and ŌĆśoutŌĆÖ to the bike loom is as follows:
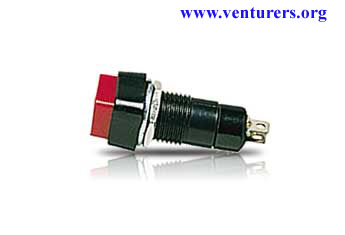
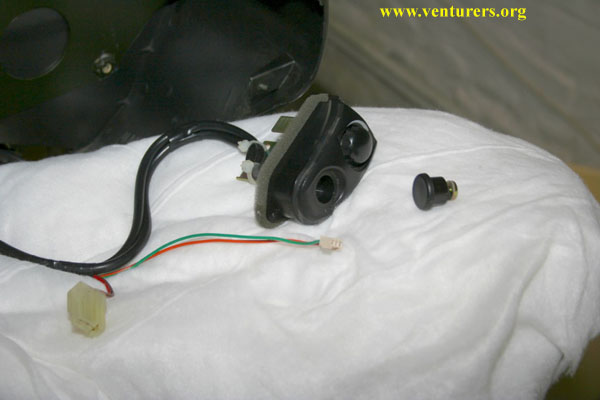
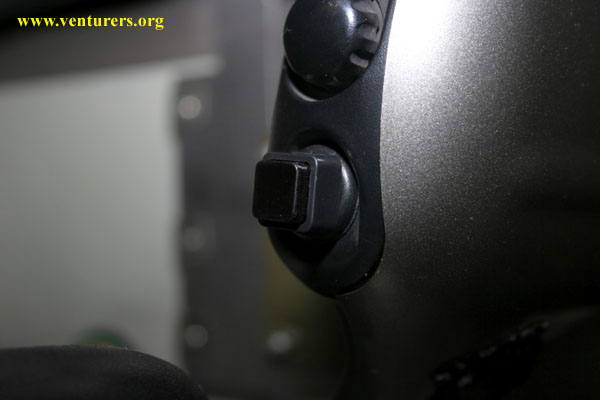
I made my own rear push to talk button. In Europe we donŌĆÖt have a rear PTT button just a mask button but we have the wires green and orange to connect one.
So I ŌĆśve make a hole in the mask button and put the push button and connect it at the green and orange wires
Last update: 08:22 PM Thursday, March 9, 2006 |
| All material on webpages under the domain venturers.org, is the property of The Venturers, Inc. These materials are protected by copyright and other intellectual property laws. You may not reproduce or retransmit the materials, in whole or in part, in any manner, without the prior written consent of The Venturers, Inc. The free information contained herein is offered in the spirit of helping others and any action or advice taken from these pages is the sole responsibility of the receiver. |