|
|
|
|
|
|
Not a member? Join Today to see why so many say they are Proud to be a Venturer!
|
|
| Billet Passenger Floorboards & DiamondR Riding Pegs |
|
Author: Gary L Mace (Venturous) Views: 8579 Votes: 0 |
|
Billet Passenger Floorboards & DiamondR Accessories Riding Pegs
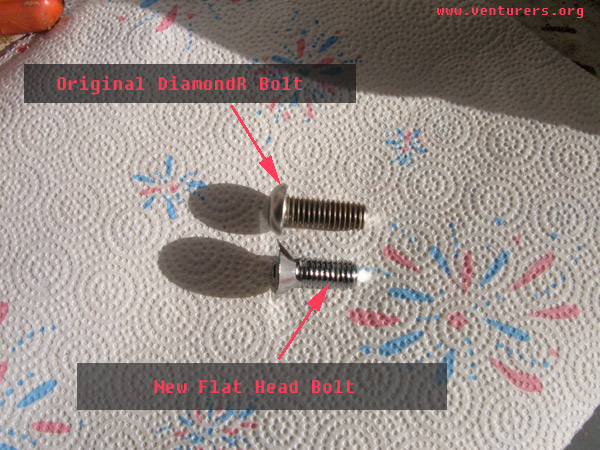
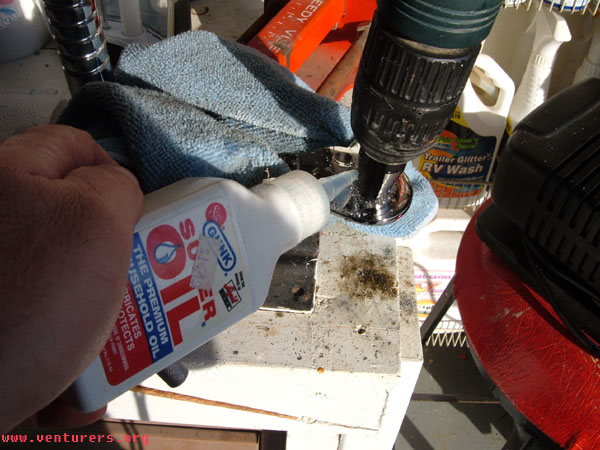
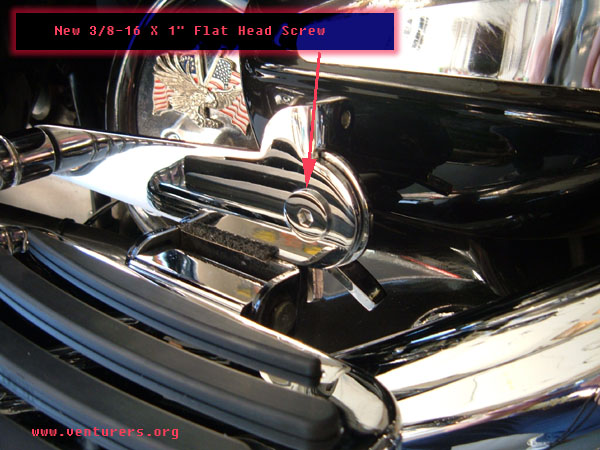
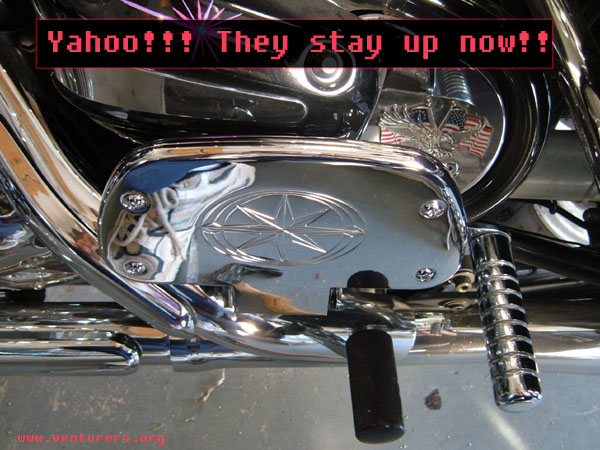
A while back, I had installed a set of chrome passenger riding pegs made by DiamondR Accessories. These things are very nice! At the time, I had installed the first design Yamaha Billet Passenger Floorboards. These used glued on rubber strips. I got tired of having to glue them back on all the time, so when Yahama released the newly designed Billet Passenger Floorboards, I ordered a set of those. These are much nicer and designed much like the driver billet floorboard cover accessory. But, there was a problem. The new floorboards would not go into the full upright position due to hitting a screw head on the DiamondR Riding Pegs. The problem is that the new Yamaha floorboards are much thicker and have a much thicker rubber pad than either the stock or original billet floorboards. What follows is my solution to this problem. WARNING!! This solution is West Virginian engineering at its finest!! This solution provides plenty of opportunity to ruin some very expensive chrome!! There is a good chance DiamondR will come up with a much better solution to this problem soon!! So, with all that said.. use this solution at your own risk and peril! OK, on with the show... First thing was to replace the screw on the DiamondR Riding Pegs to allow the floorboards to be able to go to full upright position and lock in place. So I replaced the cap head screw with a flat head screw. Chrome of course! The size is 3/8-16 X 1" But, for this screw to fit, we must first widen and taper the hole in the DiamondR Riding Peg arm. Here is that opportunity to mess up some chrome I mentioned! To do this, I used my variable size drill bit and only did a little bit at a time while checking frequently how the screw fit. Be careful not to go too big with that hole! As I drilled, I used plenty of oil to help cool surrounding areas to prevent the chrome from peeling from the heat. Use LOTS of oil! It is cheaper than chrome... Now the floorboards went all the way upright and did lock into place.
Again... use this solution with extreme caution. Gary Mace (Venturous)
Last update: 12:18 AM Sunday, April 30, 2006 |
| Related Articles: |
| All material on webpages under the domain venturers.org, is the property of The Venturers, Inc. These materials are protected by copyright and other intellectual property laws. You may not reproduce or retransmit the materials, in whole or in part, in any manner, without the prior written consent of The Venturers, Inc. The free information contained herein is offered in the spirit of helping others and any action or advice taken from these pages is the sole responsibility of the receiver. |