|
|
|
|
|
|
Not a member? Join Today to see why so many say they are Proud to be a Venturer!
|
|
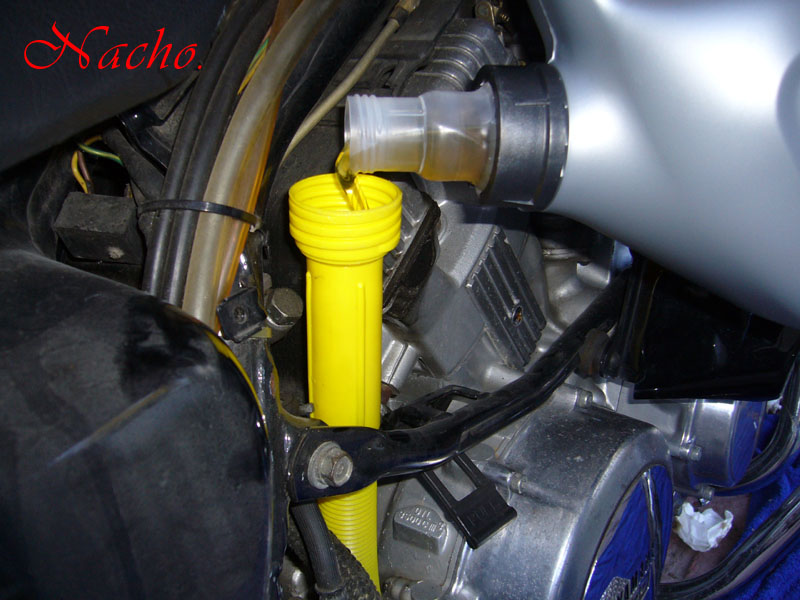
| 1st Gen Venture Oil Change Pictorial |
|
Author: Nacho Views: 38282 Votes: 321 |
|
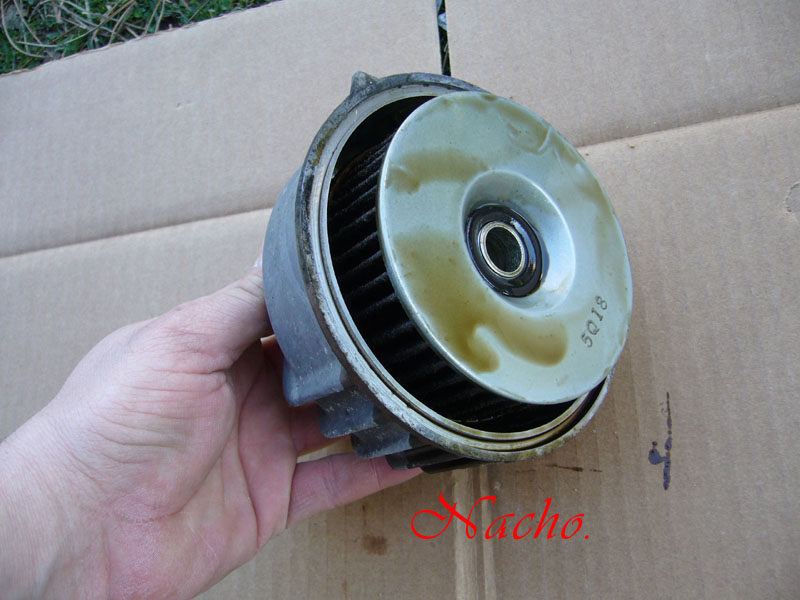
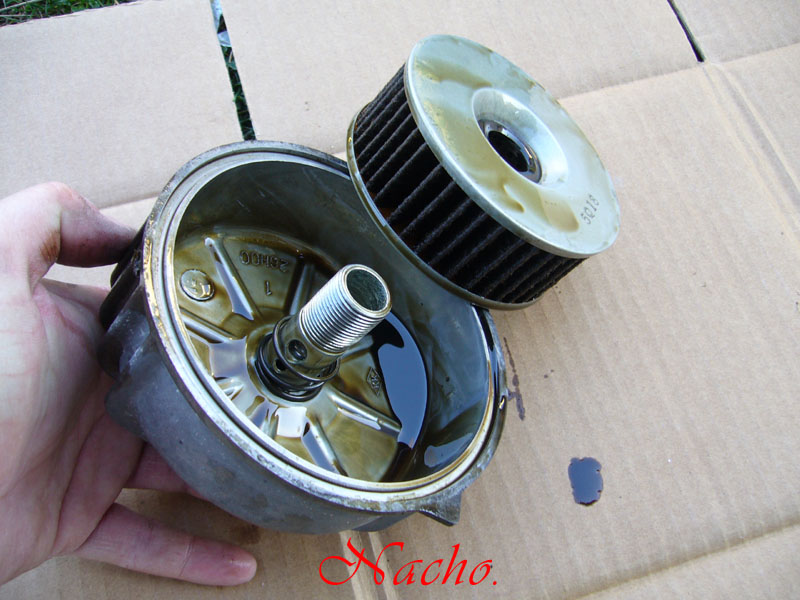
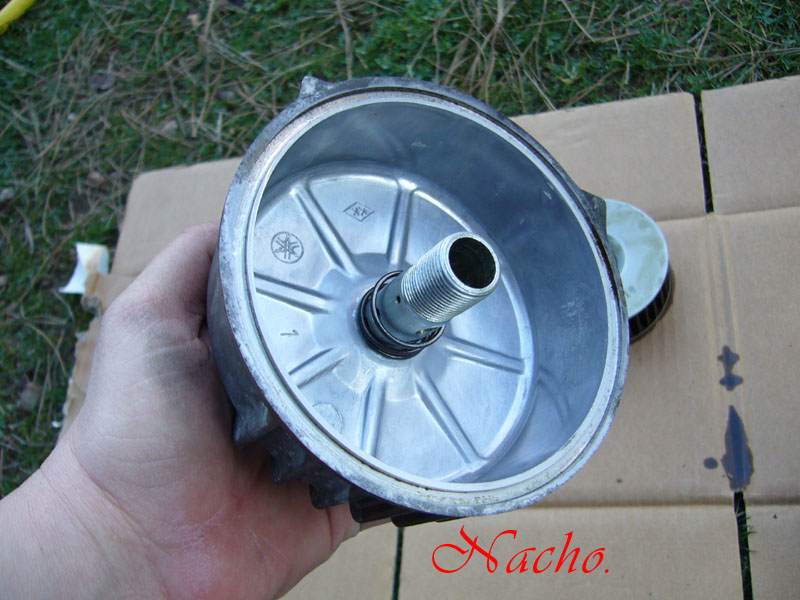
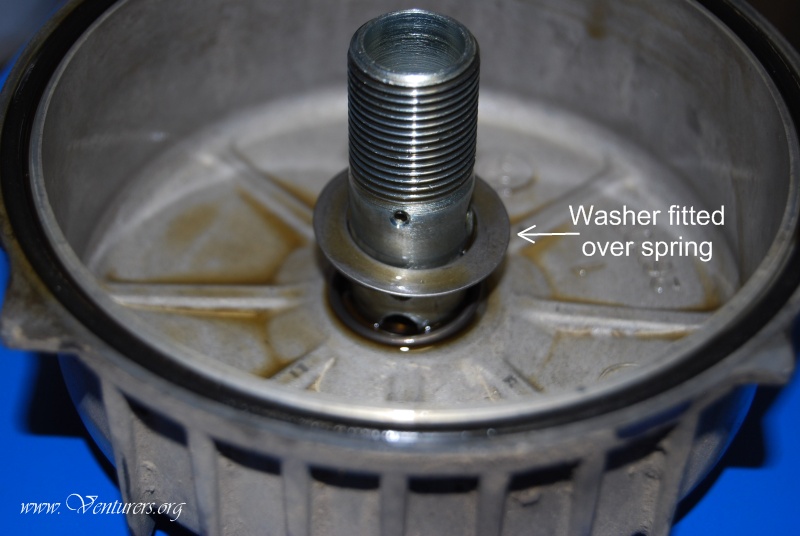
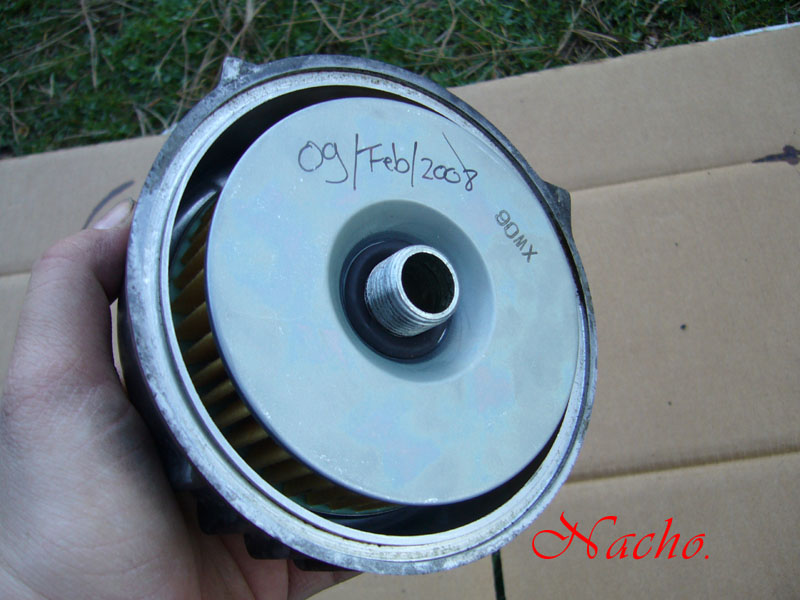
Hi there again, guys. I then took the cover and the old filter to a safe place and took the cartidge out of the bolt and cover. Be careful, as there is a spring and washer between the cartridge and the inside part of the cover. See the pics.
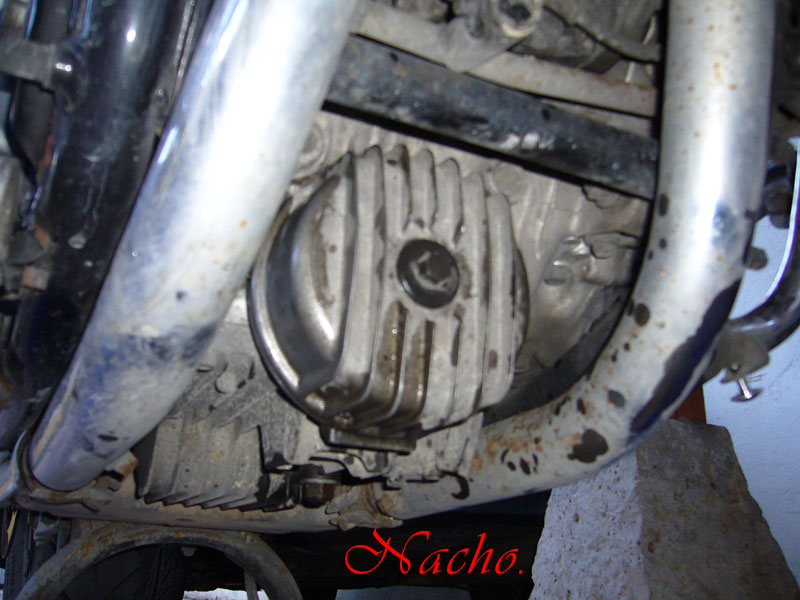
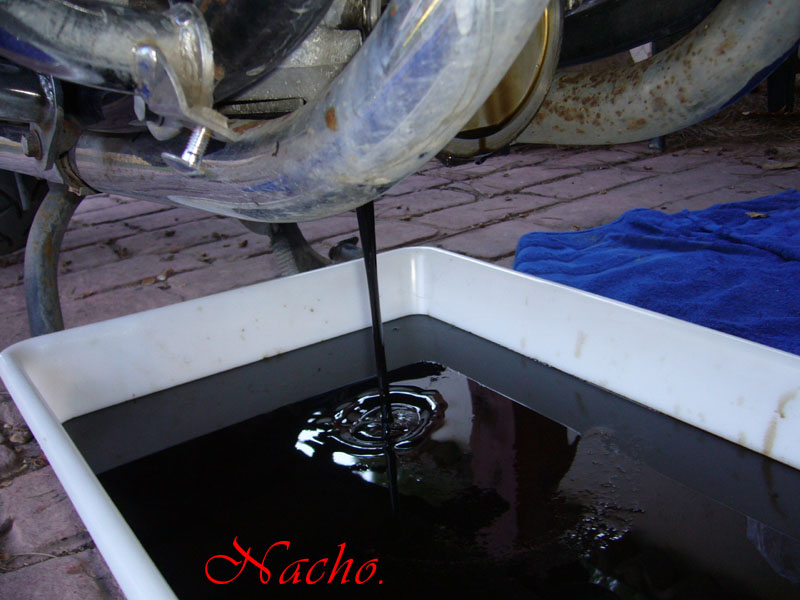
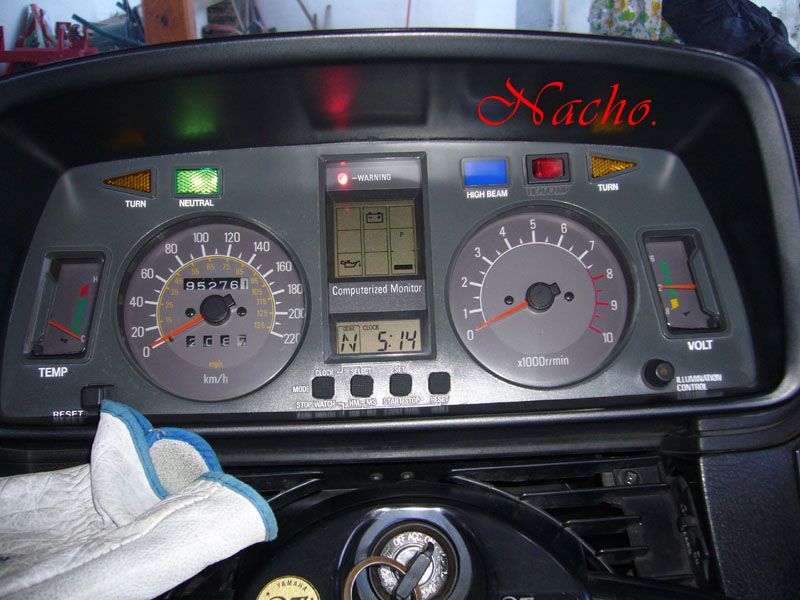
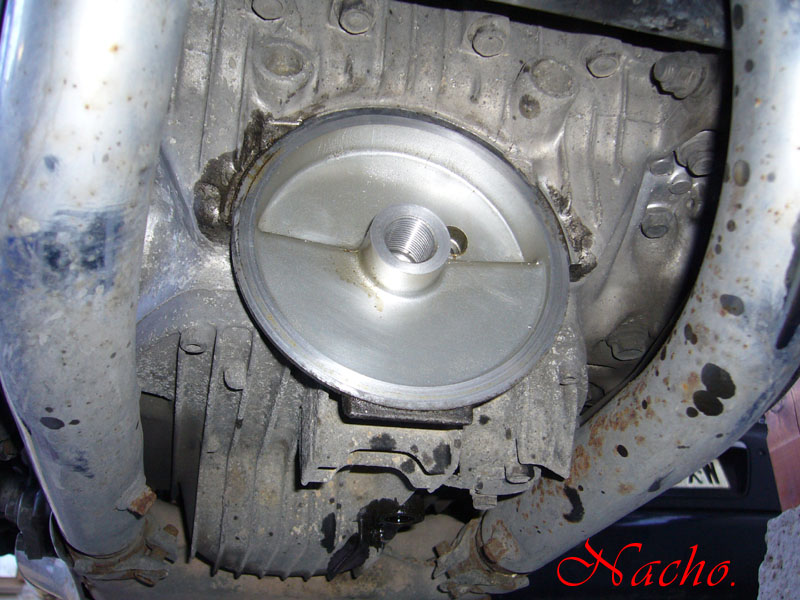
Next step is to drain the used oil from the bike. Make sure you have a big enough recipient and loosen the bolt. As a quick note, my engine was kind of warm because I did a small ride around the block just to warm it up a little bit and make it easier to drain. Oil was warm but not hot. Used thick gloves anyway to loosen the bolt and prevent getting myself burnt and dirty. As all the oil went out, it was a great chance to check that the onboard warning icon of the cockpit was working properly. And as I expected, when I turned the key to the ON position, the oil icon was on the dash.
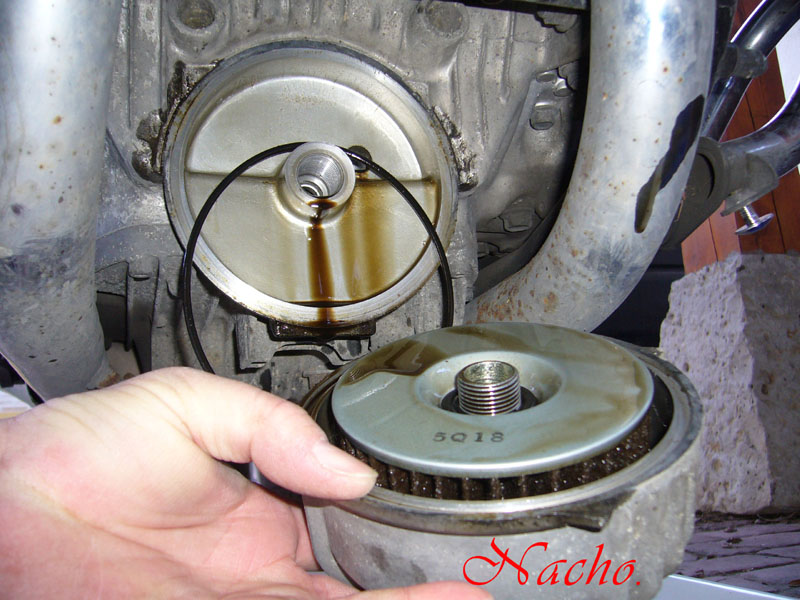
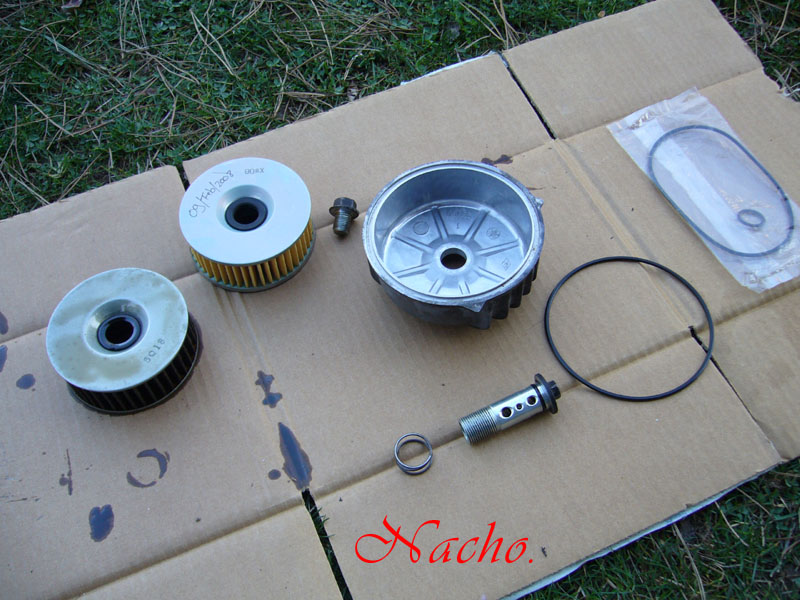
While I waited for all the oil to be drained completely, I cleaned the inside part of the cover, the bolt, spring and the seal (yes, I kept the old seal because it was simply in perfect shape, with no flats, dents or broken parts). TAC Note: The oil filter cover o-ring and the bolt o-ring should be replaced to avoid leaks. If they are in excellent shape they may be reused if new are not readily available.
Also, I cleaned the part that remains in the bike:
Here you can see the cover, the bolt and the spring clean and ready to receive the new oil filter:
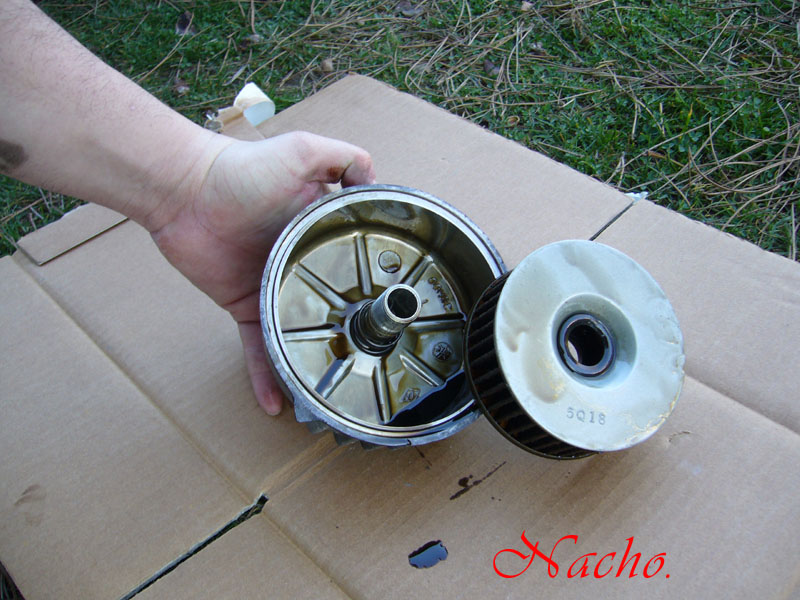
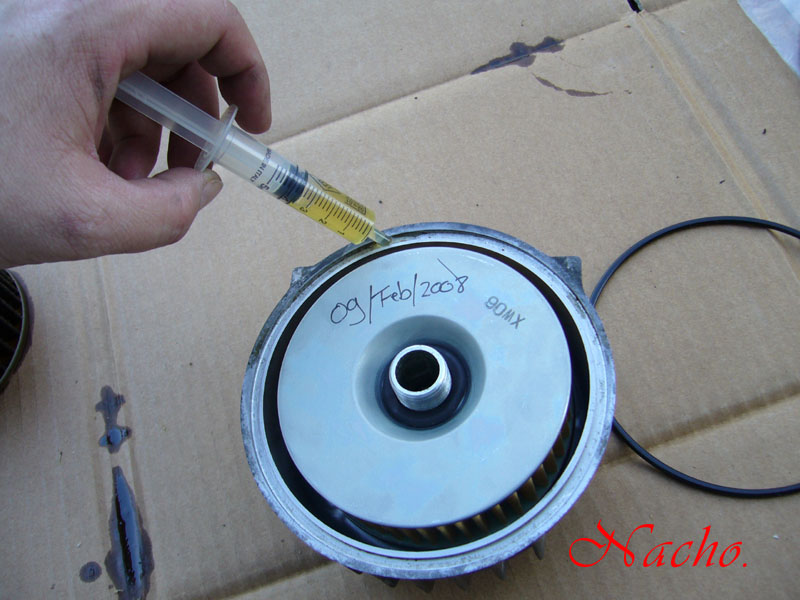
Here is an important advise: If you push the cartridge too hard directly into the cover, you might push off one of the rubber grommets mounted in the cartridge. This was my case, as you can see in the pic.
I had to mount the rubber back in place (not easy) and try again more carefully. This time I simply spun the cartridge like it was a nut till it went all the way down. Oiling the rubber grommets may make installation easier.
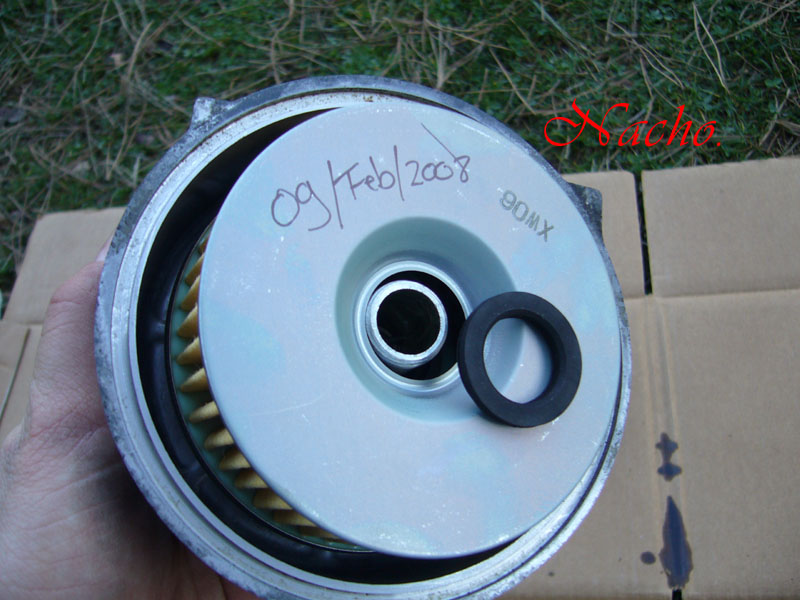
Notice that I wrote down a date on the cartridge. I also tracked the data into my computer, but this way, if I sell the bike, the new owner can know the age of the oil filter (although I don't plan to get rid of this great bike).
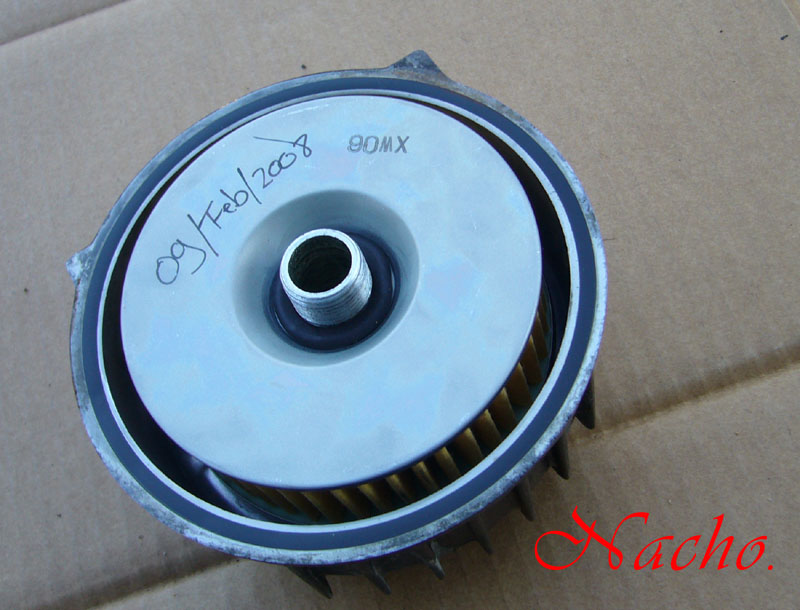
You can't see in the picture, but here the seal is oily and is just like 0.1 milimeter above the cover level.
With the cover on, I just torqued it (didn't have the right tools, so I did it just by "hand feeling". Sorry about it).
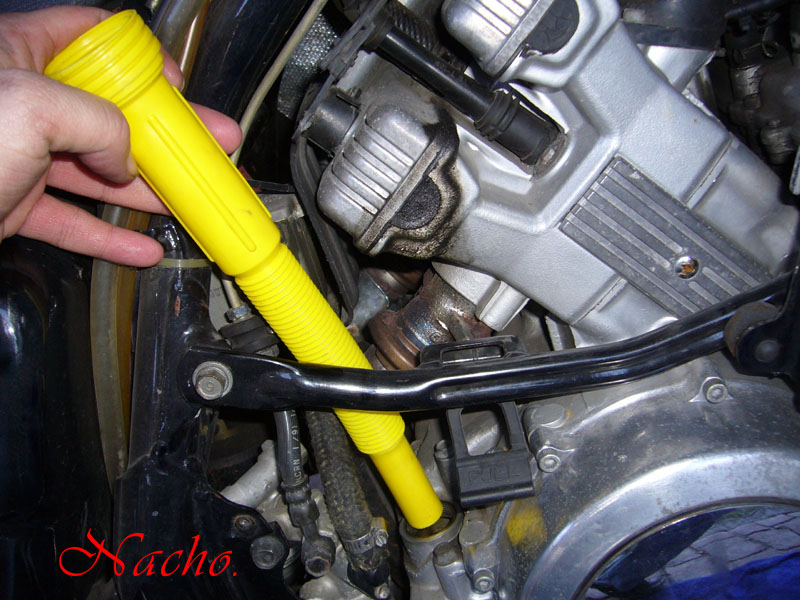
Finally, I put the plastic wind deflector back in place.
Last update: 08:55 PM Tuesday, December 4, 2012 |
| All material on webpages under the domain venturers.org, is the property of The Venturers, Inc. These materials are protected by copyright and other intellectual property laws. You may not reproduce or retransmit the materials, in whole or in part, in any manner, without the prior written consent of The Venturers, Inc. The free information contained herein is offered in the spirit of helping others and any action or advice taken from these pages is the sole responsibility of the receiver. |