|
|
|
|
|
|
Not a member? Join Today to see why so many say they are Proud to be a Venturer!
|
|
| CMS Removal & Repair |
|
Author: Roger Brown (Rbengl) Views: 12041 Votes: 30 |
|
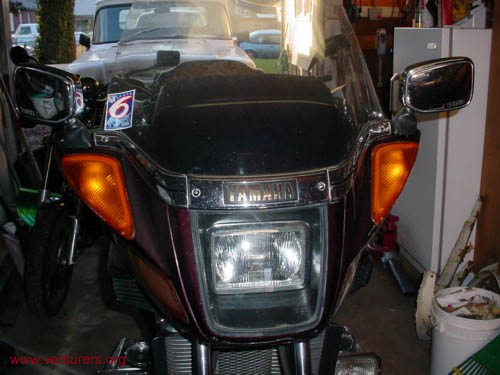
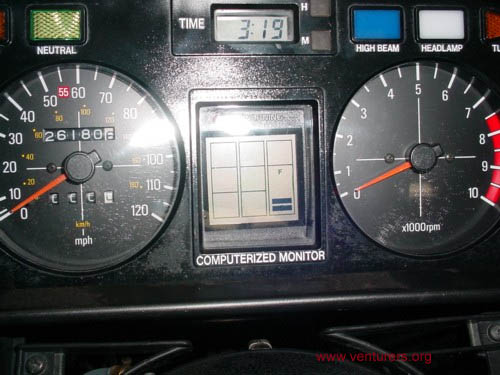
Here are the instructions and pictures I took of this. I have a 83 Venture standard and was having the false warnings, dim headlight, and my fuel gauge would go to empty right after filling then back full again. This caused the fuel warning to come on, then go off.
First remove the windshield trim. (4 screws).
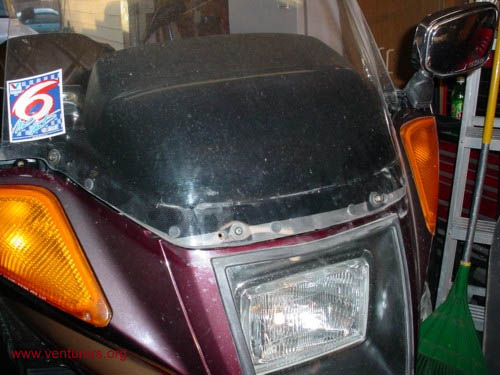
Remove the windshield. (4 screws).
There are four screws holding the hood in place. I loosened the front ones.
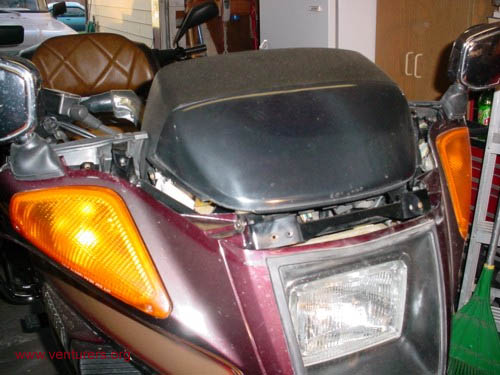
Then I removed the rear ones.
Then removed the hood.
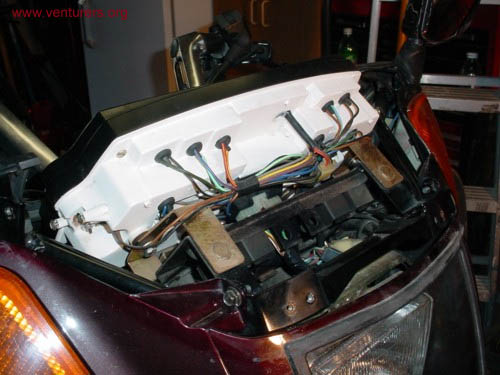
Then using a 10mm wrench and a socket, I removed the 4 nuts and washers holding the instrument cluster.
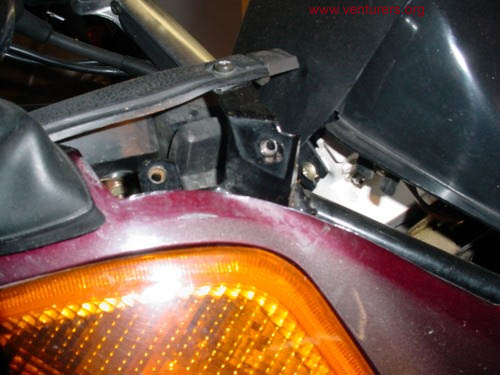
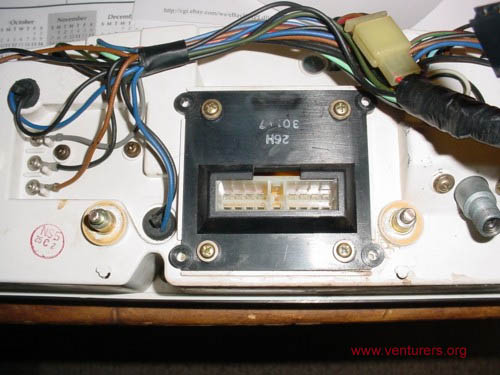
I then unhooked the large connector and 3 smaller wires that connect to the instrument cluster.
I then disconnected the speedometer cable. I did this last as I could pull up a little on the cluster and get more room to unscrew the cable.
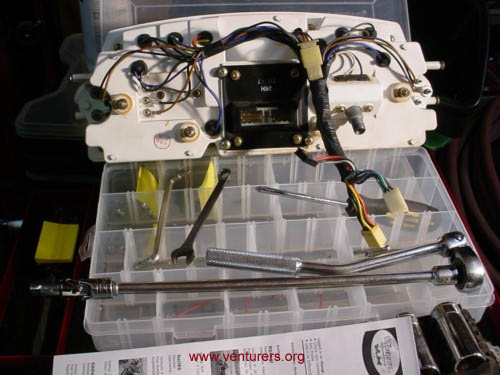
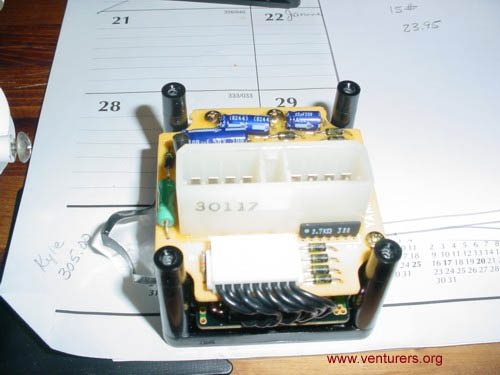
I then removed the cluster from the bike. Here is the removed cluster with all the tools I used to remove it.
Now to remove the CMS from the instrument cluster. I first removed the 4 ourter screws, then the four inner screws.
Then you remove the mounting plate.
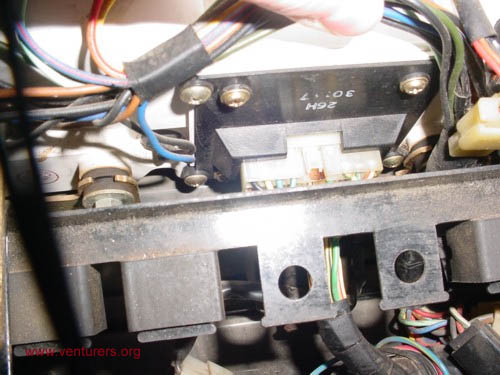
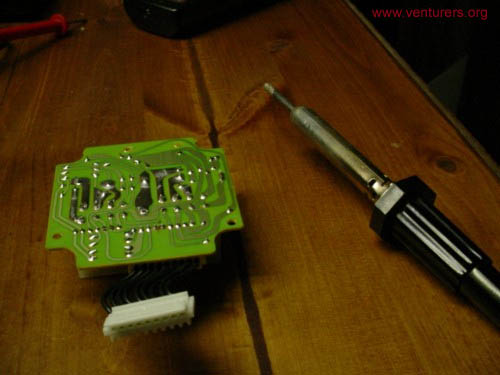
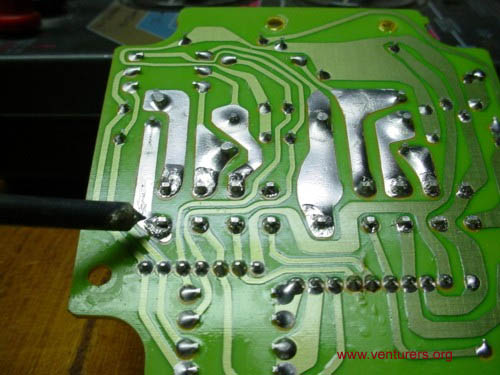
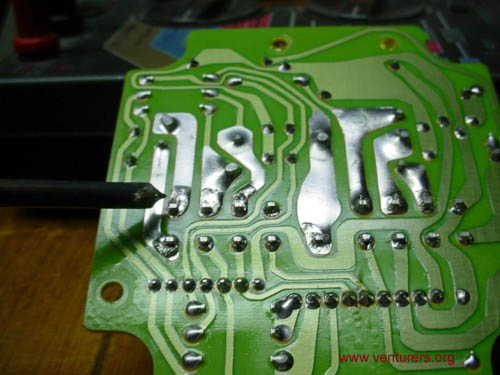
I soldered both rows where the connector is soldered to the board. The iron is pointing at one row.
And here it is pointing at the other row.
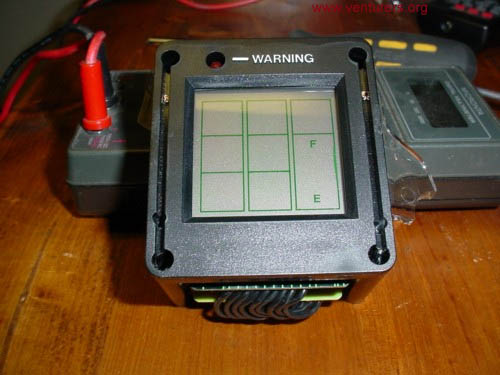
Once completed, just reverse the sequence to put it all back together. Some of the mounting bolts are buried and hard to get to, but if a little patience is used, you can get to them. There are three connectors that I didn't show, and I found those hard to put back together, but again a little patience and they should be fine. Now that I had it all back together, I had to try it out to make sure I had not created a error or problem.
It took me about 30 minutes to take the instrument cluster out fo the bike. Removing the CMS from the cluster and soldering took about an hour for me. Putting the cluster back together took about 15 minutes, and returning the cluster to the bike and finishing up took about another 20 minutes. Remember I was taking pictures and taking great care. Roger
Last update: 07:51 PM Wednesday, January 5, 2005 |
| All material on webpages under the domain venturers.org, is the property of The Venturers, Inc. These materials are protected by copyright and other intellectual property laws. You may not reproduce or retransmit the materials, in whole or in part, in any manner, without the prior written consent of The Venturers, Inc. The free information contained herein is offered in the spirit of helping others and any action or advice taken from these pages is the sole responsibility of the receiver. |