|
Hello there, everybody.
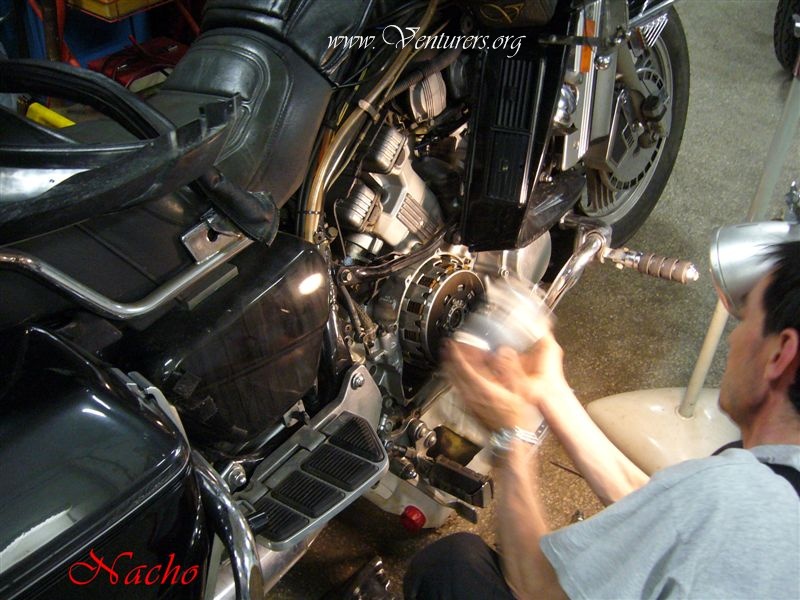
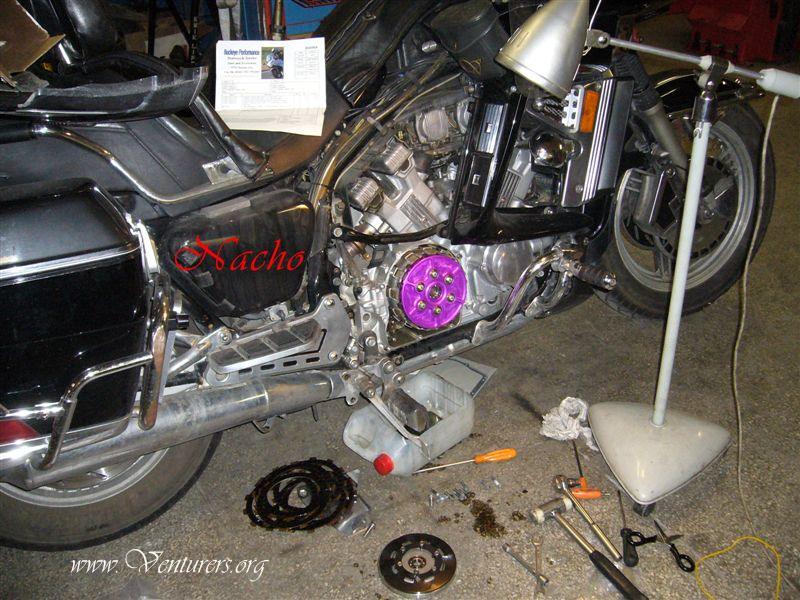
I just received my order from Rick last week (thanks a lot, Rick) and yesterday I went to the dealer and changed my clutch discs and Barnet clutch.
I was able to take some pics and wanted to share them with you. I know there is a very nice article about this in the Tech Library, but if the moderators want to add this pics from a first gen Venture, please go ahead and do it.
As described in the Tech Section, there is no need to take out the engine oil. Just use the side extend and leave the bike rest there so the oil can move to the left side.
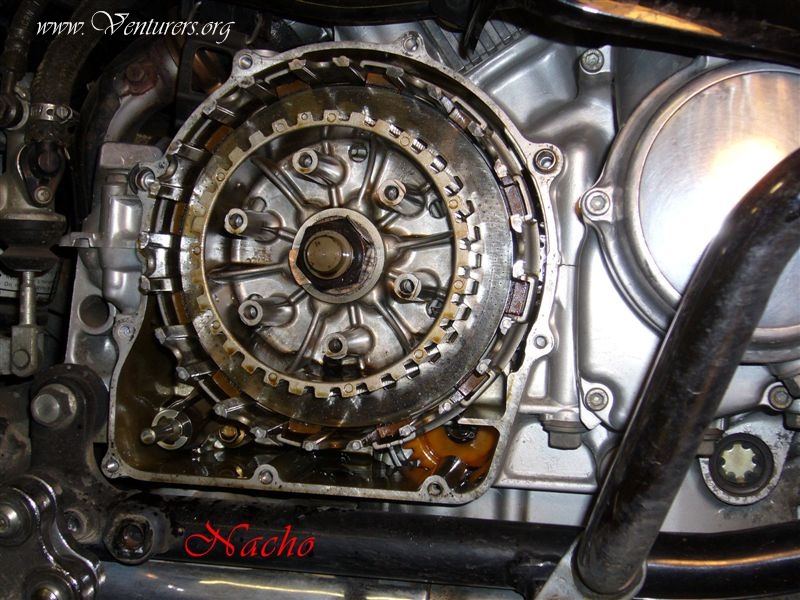
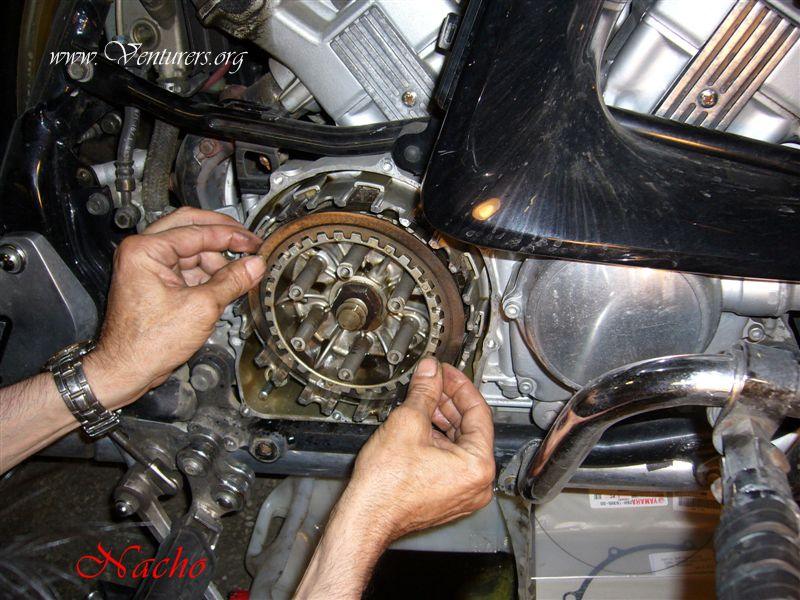
Taking off the cover.
Cover out
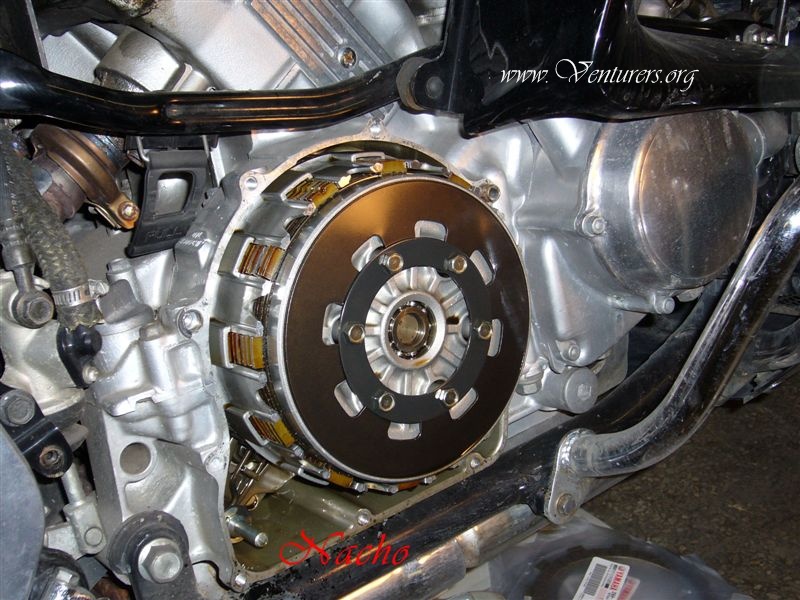
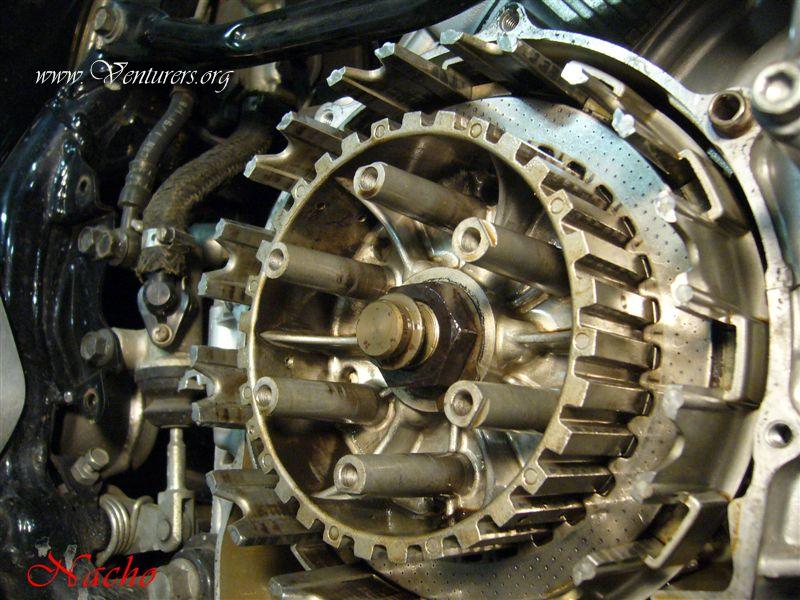
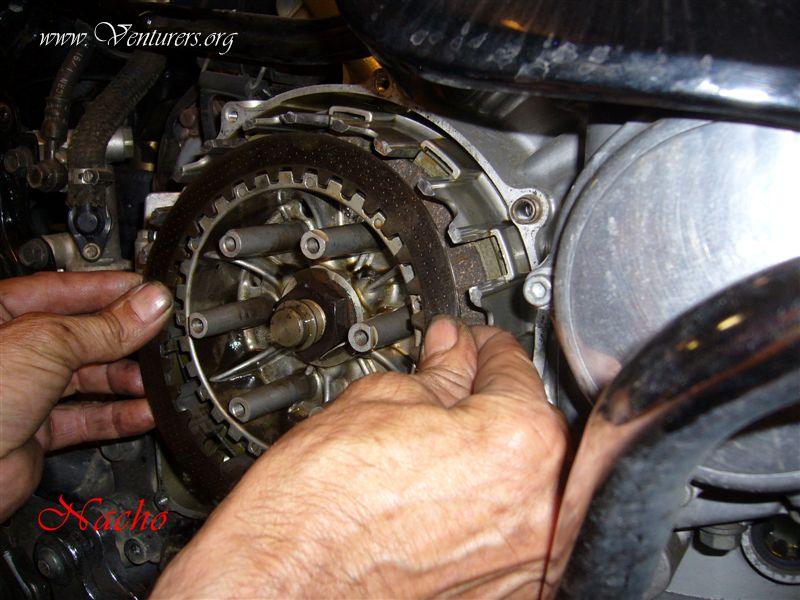
Now we have access to the metal and ferodo discs.
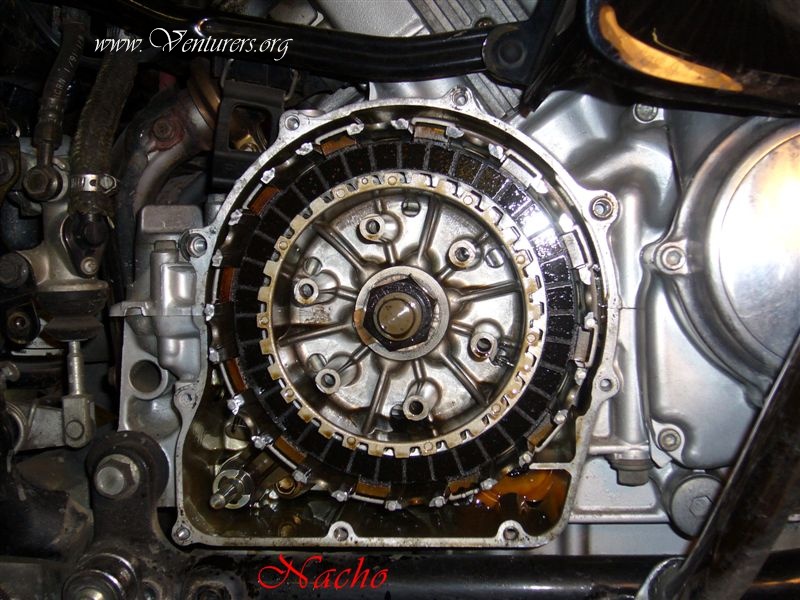
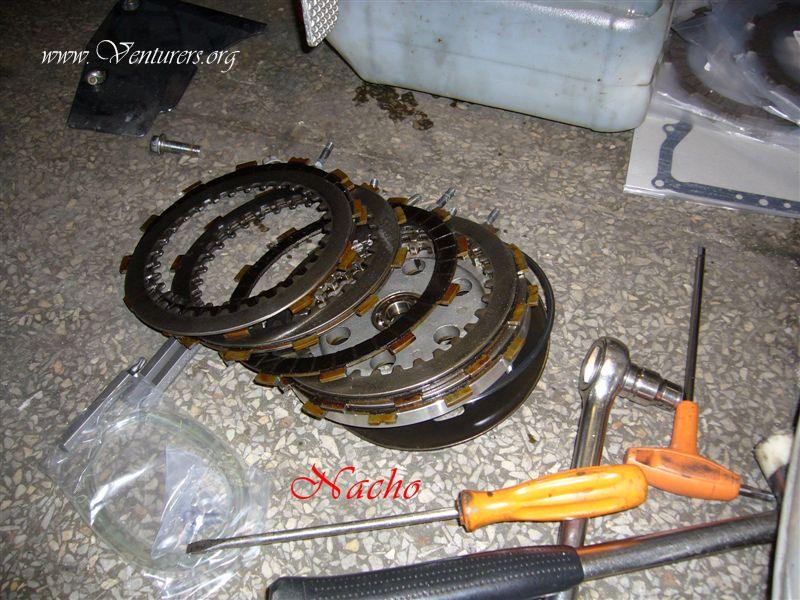
Here we had all discs resting on the floor (except the last and smaller one).
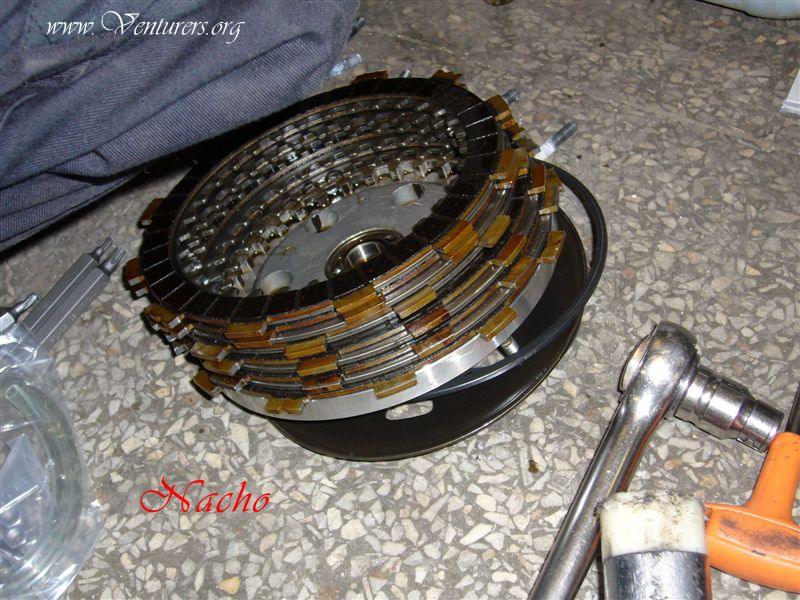
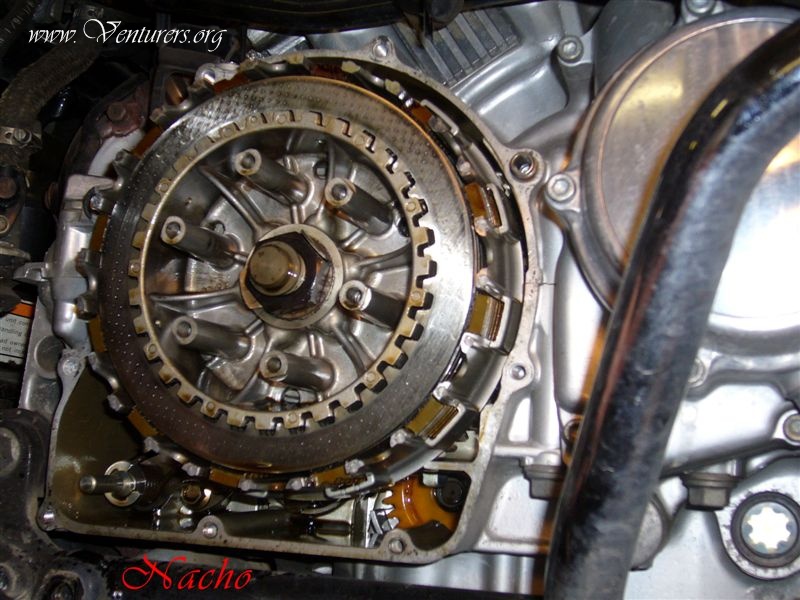
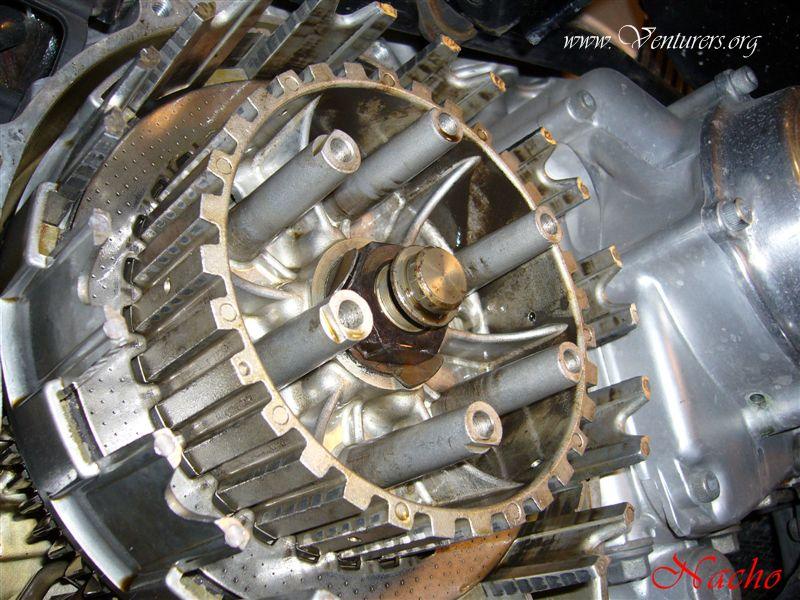
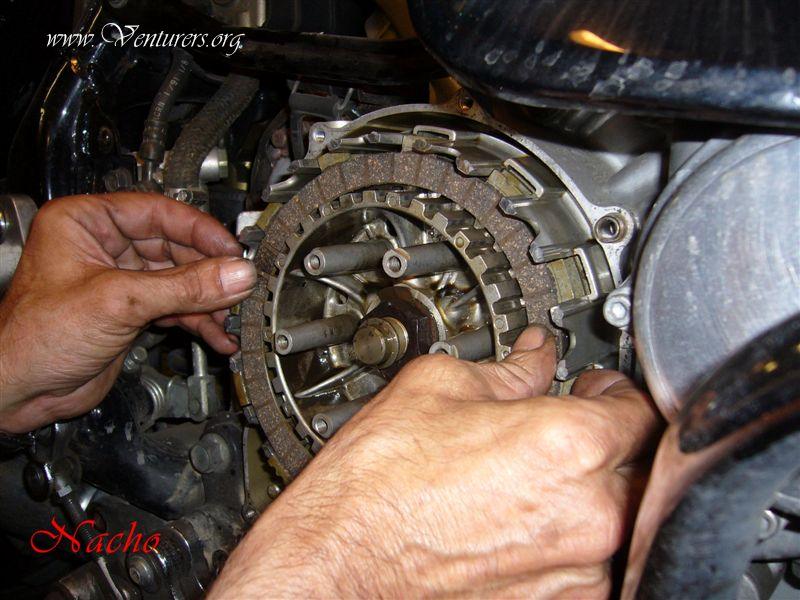
Here we can see the retainer ring still there. Next step was taking it out, also the last disc, and then reverse all the process (by the way, we used the old retainer ring to snake the new one in place by pulling through the hole. Was a piece of cake)
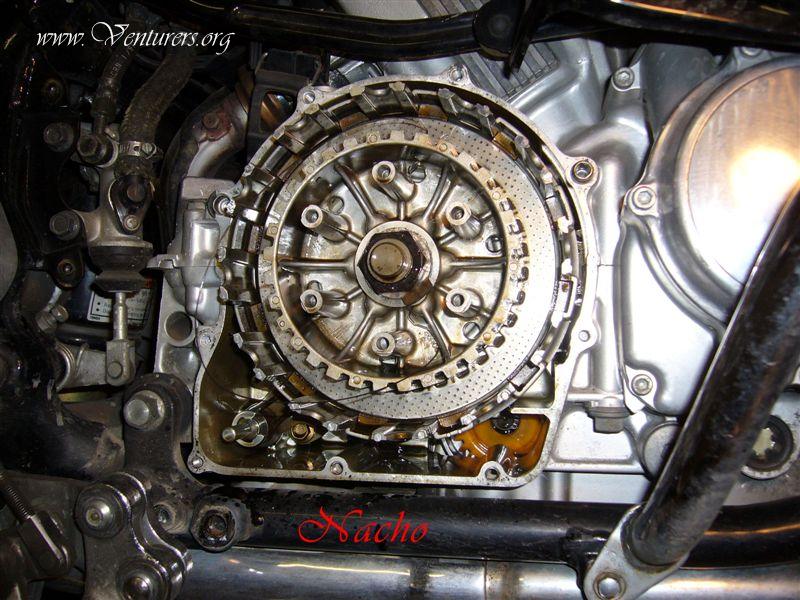
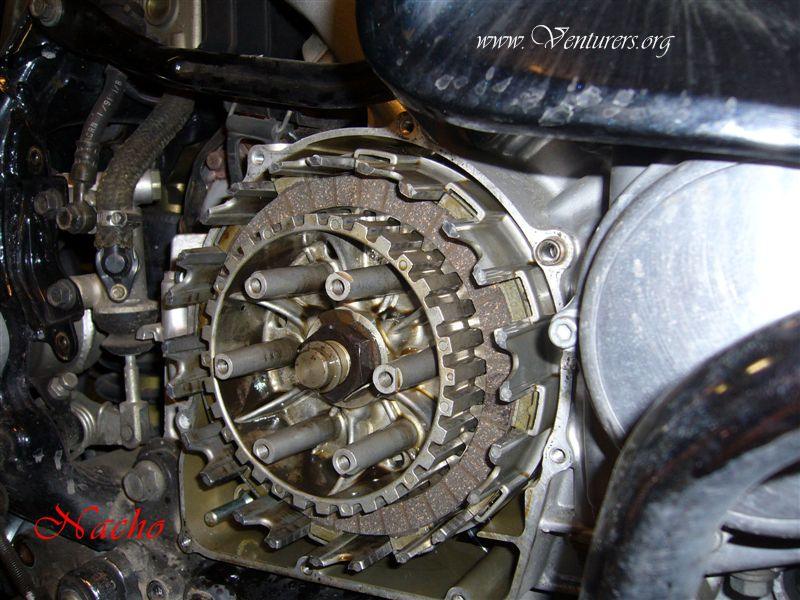
Now , the next pics show different moments of adding all the discs.
By the way. My dealer said he preffers not to align the discs, so the oil bath for the discs is better and gets there from different places and all of them get correctly lubbed. I don't really liked this a lot, as the manual clearly says they have to be aligned, but he has been in this bussines for so many years and doing racing bikes and all, that I had to trust him. What do you guys think about this?
Here are the preassure plates together for comparision.

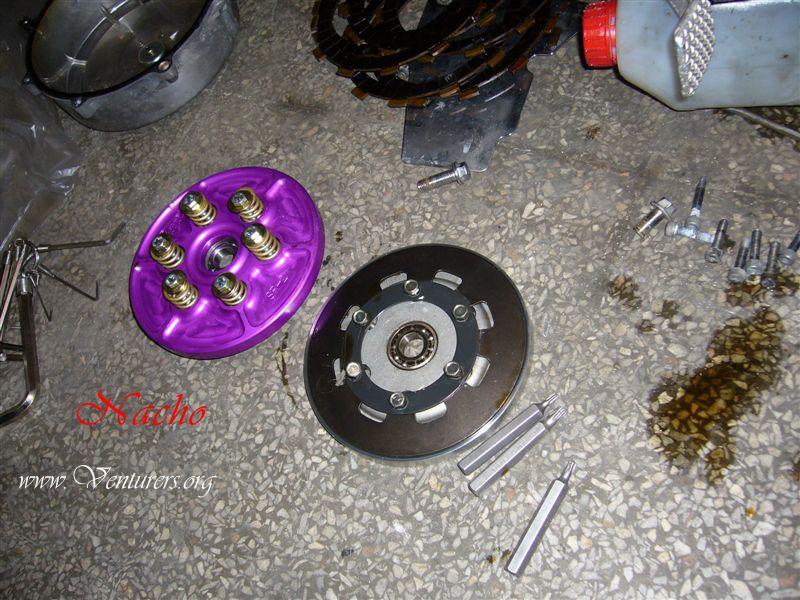
*Venturers TAC Edit: Be sure Barnett pressure plate is indexed correctly with clutch basket. It can be installed incorrectly and clutch will not work. Index the teeth on pressure plate with grooves in clutch basket. Verify correct operation as shown in video at end of this article.*
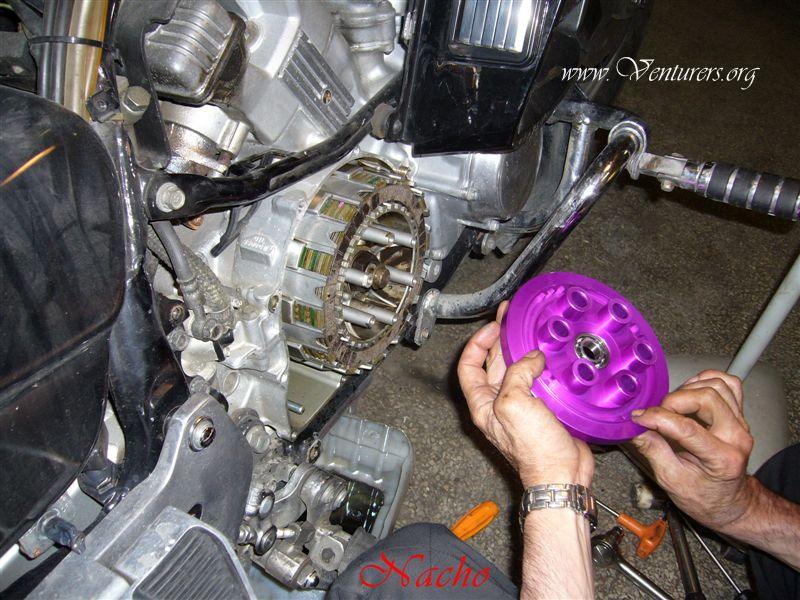
Almost done
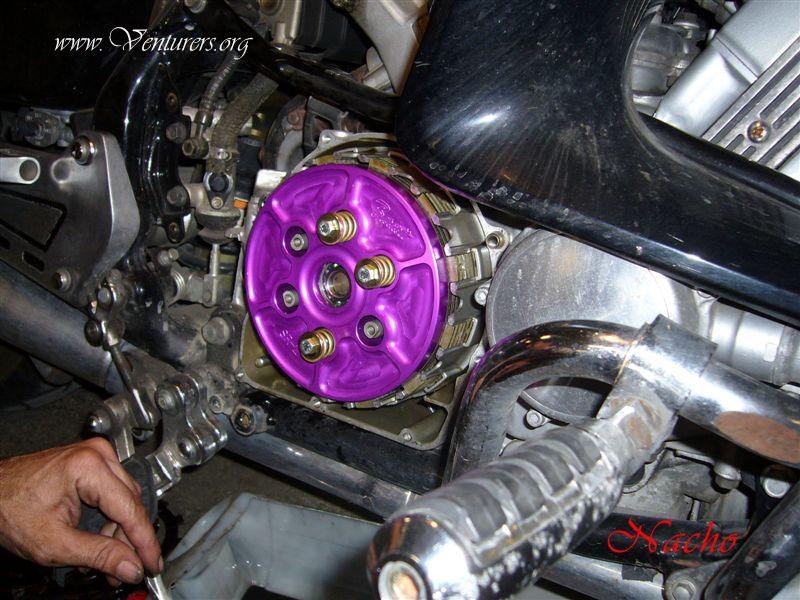
All bolts there but not tightened yet.
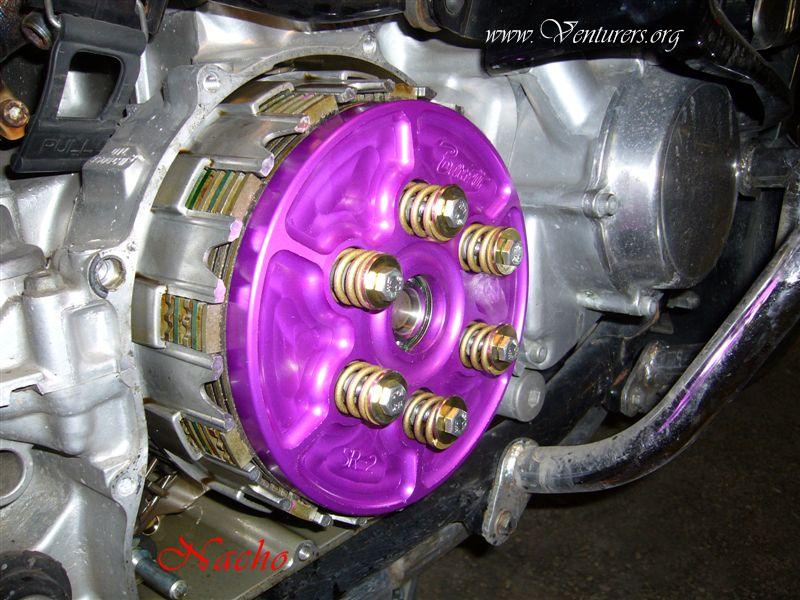
We are done. Only thing left is to put the cover and the side panel
Finally here is a short video with all the set installed and me using the clutch lever. Please notice the short movement of the set.
Last update: 02:27 AM Saturday, May 2, 2009
|
