|
|
|
|
|
|
Not a member? Join Today to see why so many say they are Proud to be a Venturer!
|
|
| RSV Charging System Stator Upgrade |
|
Author: behmer Views: 24583 Votes: 26 |
|
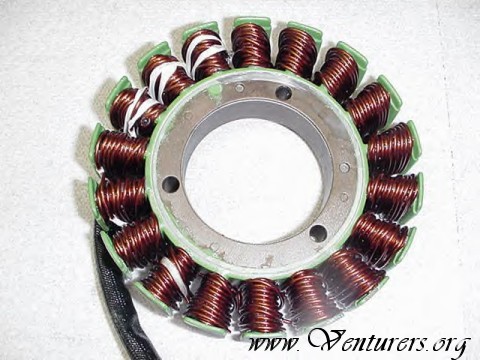
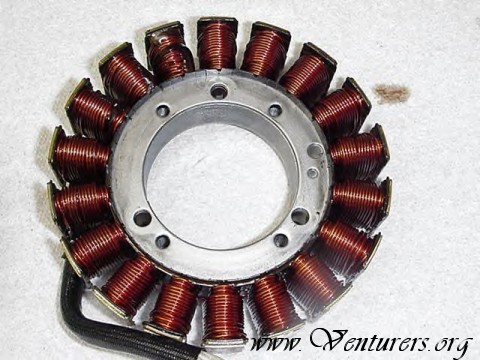
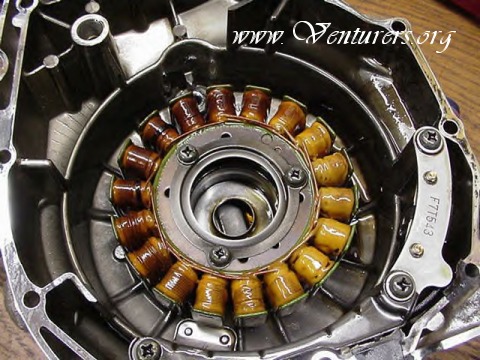
I finally got my hands on a stator that had more output than the OEM and so it was time to install it and see what we had. Here is the new stator from Buckeye Performance. This upgrade increases the standard output from 30 to 45 amps. Here is the OEM. The first step was to drain the oil out of the engine. The next step was to remove the middle gear case cover and also the crankcase cover that has the stator attached to it. The middle gear case cover will hold a little oil inside of it so I removed this bolt first. Note the copper washer on the bolt. This must be reinstalled in the same position. This will drain most of the oil that is remaining here. Remove the rest of the bolts and you will have this.
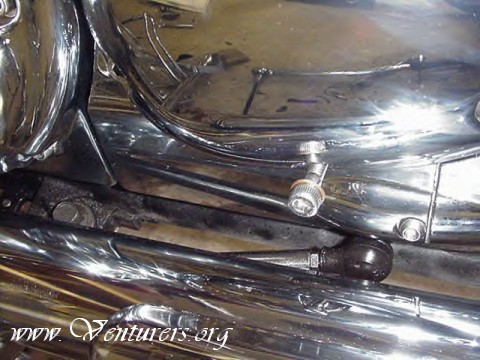
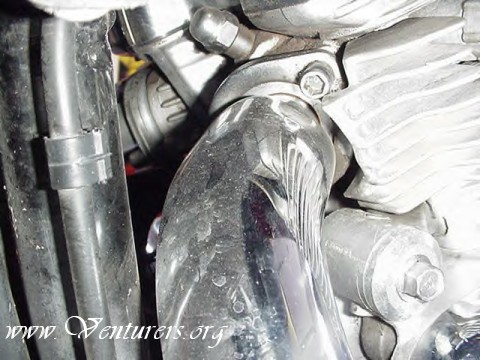
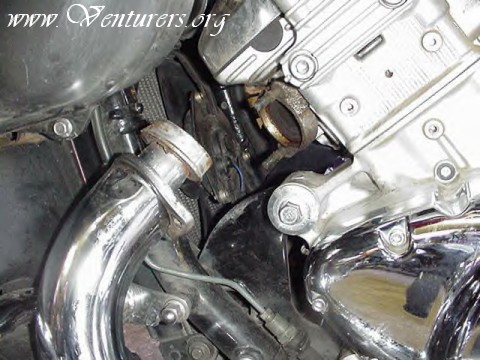
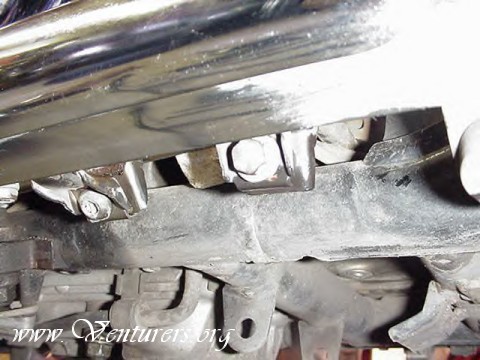
In order to remove the crankcase cover I removed the left footrest, removed the exhaust from the left front cylinder and removed the shift linkage. Here are the bolts for the footrest. The footrest and the shift linkage can then just lay off to the side out of the way.
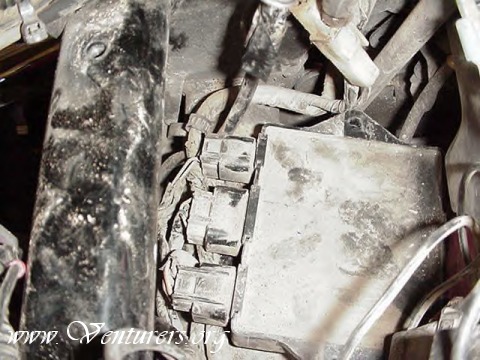
Here is the bolt on the bottom to loosen which will allow you to slide the exhaust forward and down out of the way. Before removing the crankcase cover now is the time to get the two wire harnesses unplugged and routed off the bike so the crankcase cover can be fully removed. One set of wires is for the stator and the other set is for the pick up coil. These are both connected to the main harness in front of the battery box near the swingarm. I removed the sidecovers and also the coolant bottle to make getting at things easier. The directions for those can be found here.
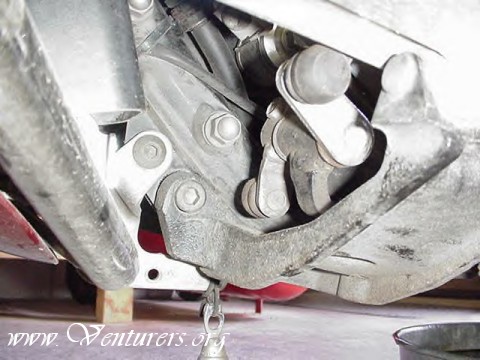
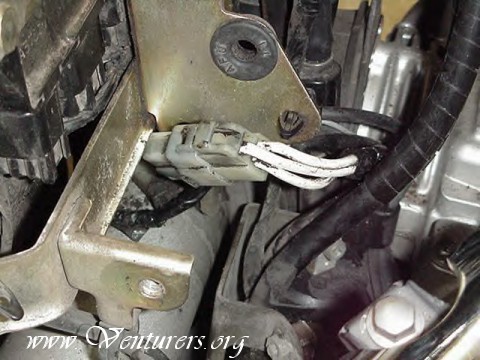
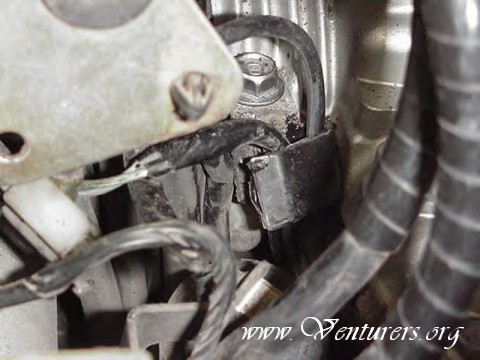
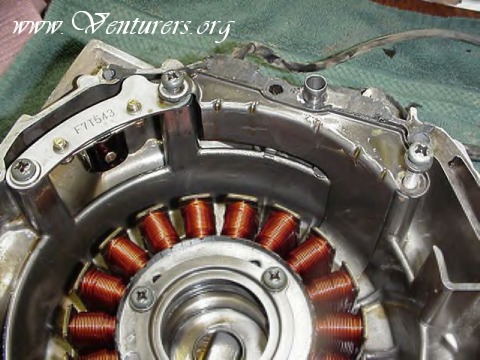
With both sets of wires unplugged you will then have to get them free of this clamp.
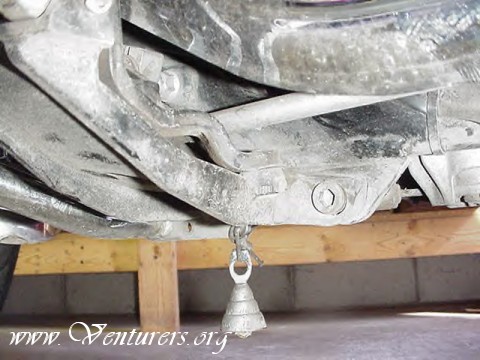
With the wires free of the clamp they can then be pulled down through the bottom of the bike. There is one more clamp that holds the wires in between both the middle gear case cover and the crankcase cover.
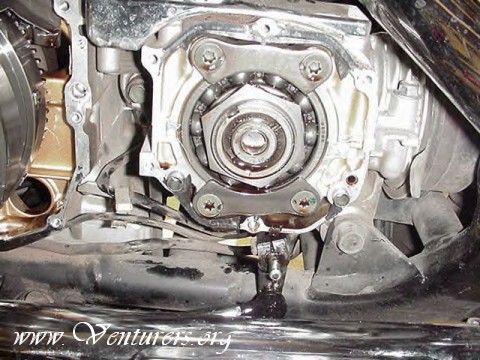
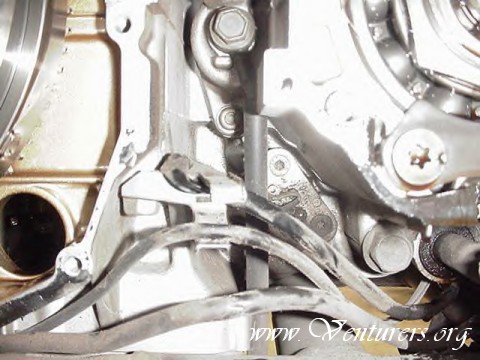
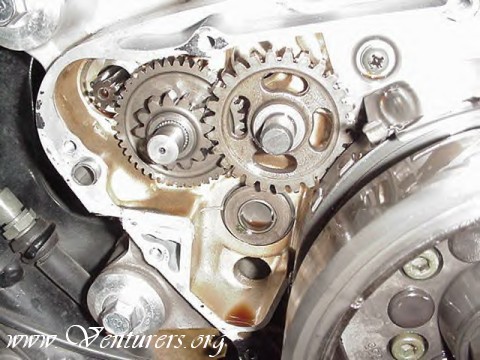
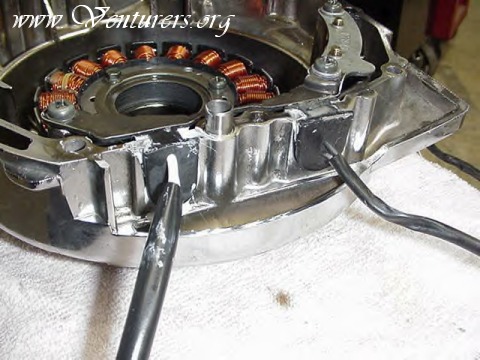
With the wires free of the bike the crankcase cover can now be removed. It will come off a little hard with the pull of the magnet on the coil. Take note of how the starter gears are installed if they come apart.
Now it’s time to remove the OEM stator and install the higher output one. There are three screws holding the stator to the cover. These are usually in there pretty good. I have had the best luck heating them up with a micro torch to loosen the lock tite. Make sure you have a phillips bit that is in good shape also. I use a cordless drill to give them a good “pop” when loosening them.
Also needing to be removed are these two screws that hold a guard to cover the wires where they pass under the rotor. These screws are also locktited and are tough to remove without heating them.
Before removing the stator take a look at the orientation of the wires coming off of it so you can install the new one the same way.
When reinstalling the bracket that covers the stator wires in the cover be sure to get the bottom lined up to the pin. Take your time getting this area correct as you don’t want the rotor to hit this once it’s installed. The screws for this bracket get locktite on install.
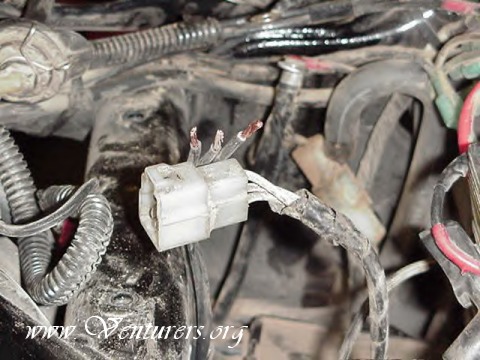
Here I cut the connector off and installed some heat shrink tubing over the wires and then soldered them together (it doesn’t matter which wires you connect together). After being soldered I then put some heat to the shrink tubing to finish it off.
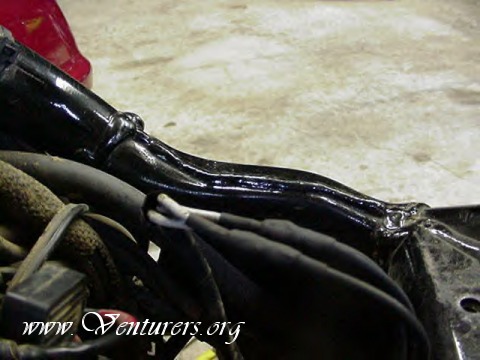
With the connections made I then used some cable ties to fasten the wires out of harms way and then reinstalled the battery.
Last update: 06:44 PM Tuesday, November 6, 2007 |
| All material on webpages under the domain venturers.org, is the property of The Venturers, Inc. These materials are protected by copyright and other intellectual property laws. You may not reproduce or retransmit the materials, in whole or in part, in any manner, without the prior written consent of The Venturers, Inc. The free information contained herein is offered in the spirit of helping others and any action or advice taken from these pages is the sole responsibility of the receiver. |